How to delete creative cloud from macbook – Uninstalling Creative Cloud from your MacBook can be a breeze if you follow the right steps. This comprehensive guide will walk you through the entire process, ensuring a clean and hassle-free removal.
Uninstalling Creative Cloud Desktop Application
To uninstall the Creative Cloud Desktop Application, follow these steps:
Open the Applications folder on your Mac. Find the “Adobe Creative Cloud” app and drag it to the Trash.
Using the Uninstaller Tool
If you want to use the uninstaller tool, follow these steps:
- Open the Applications folder on your Mac.
- Find the “Adobe Creative Cloud Uninstaller” app and double-click it.
- Follow the on-screen instructions to uninstall the Creative Cloud Desktop Application.
Removing Creative Cloud Files and Folders

Uninstalling the Creative Cloud Desktop Application is just the first step in completely removing Creative Cloud from your Mac. To ensure a clean removal, you’ll need to locate and delete the remaining Creative Cloud files and folders. These files may include preferences, logs, and other related data.To remove these files, you’ll need to access the Library folder, which is a hidden folder on your Mac.
To access it, open Finder and click on the “Go” menu. Then, hold down the “Option” key and select “Library.”
Deleting Creative Cloud Files and Folders from the Library Folder
In the Library folder, navigate to the following folders and delete any files or folders related to Creative Cloud:
~/Library/Application Support/Adobe
~/Library/Caches/Adobe
~/Library/Preferences/Adobe
- ~/Library/Logs/Adobe
- Additionally, you may want to delete the following files, which contain preferences and other settings:
~/Library/Preferences/com.adobe.accmac.plist
~/Library/Preferences/com.adobe.csxs.#####.plist (where ##### represents the version number of Creative Cloud)
~/Library/Preferences/com.adobe.CreativeCloud.plist
~/Library/Preferences/com.adobe.CreativeCloudDesktop.plist
~/Library/Preferences/com.adobe.illustrator.plist
- ~/Library/Preferences/com.adobe.photoshop.plist
- Once you have deleted all the relevant files and folders, empty the Trash to complete the removal process.
Deleting Creative Cloud Cache

Creative Cloud cache stores temporary files and data used by the application to enhance performance and optimize user experience. However, over time, this cache can accumulate and lead to performance issues, application crashes, and other problems.
Regularly clearing the Creative Cloud cache is crucial to maintain optimal performance and prevent potential issues. Here’s how you can locate and delete cache files:
Locating and Deleting Cache Files
- Quit all Creative Cloud applications.
- Open Finder and navigate to the following directory:
~/Library/Application Support/Adobe/Common
- Delete the “Cache” folder.
Using a Tool to Automate Cache Clearing
You can also use a tool like the Adobe Creative Cloud Cleaner to automate the cache-clearing process. This tool scans your system for Creative Cloud cache files and removes them safely.
Benefits of Clearing Creative Cloud Cache
- Improved application performance
- Reduced application crashes
- Resolved issues with file synchronization and updates
- Freed up storage space
Uninstalling Individual Creative Cloud Applications

Uninstalling individual Creative Cloud applications can be done through the Applications folder or by using the uninstaller tool for individual applications.
- Through the Applications folder:
- Open the Applications folder on your Mac.
- Locate the Creative Cloud application you want to uninstall and drag it to the Trash.
- Empty the Trash to complete the uninstallation.
- Using the uninstaller tool:
- Go to the Creative Cloud website and sign in with your Adobe ID.
- Click on the “Apps” tab and select the application you want to uninstall.
- Click on the “More actions” button and select “Uninstall”.
- Follow the on-screen instructions to complete the uninstallation.
Removing Creative Cloud Extensions

Creative Cloud extensions enhance the functionality of Adobe applications, but sometimes they can become outdated or unnecessary. Removing them ensures a clean and efficient workflow.
Uninstalling Extensions from the Extensions Manager
- Open the Creative Cloud desktop application.
- Click on the “Extensions” tab.
- Select the extension you want to remove and click on the “Uninstall” button.
- Confirm the uninstallation by clicking on the “Uninstall” button again.
Disabling Creative Cloud Services
Disabling Creative Cloud services, such as Creative Cloud Libraries and Sync, can help you manage your storage space, improve performance, and enhance privacy. Here’s a guide on how to disable or remove these services from your system.
Accessing Service Preferences
To access the preferences for Creative Cloud services, launch the Creative Cloud desktop application. Click on the gear icon in the upper-right corner and select “Preferences.”
Disabling Creative Cloud Libraries
To disable Creative Cloud Libraries, go to the “Creative Cloud Libraries” tab in the Preferences window. Uncheck the box next to “Enable Creative Cloud Libraries.”
Disabling Sync
To disable Sync, go to the “Sync” tab in the Preferences window. Uncheck the box next to “Sync.”
Removing Creative Cloud Services
If you want to completely remove Creative Cloud services from your system, you can do so by uninstalling the Creative Cloud desktop application. This will remove all Creative Cloud services and their associated files.
To delete Creative Cloud from your MacBook, open Finder and navigate to the Applications folder. Locate the Creative Cloud app and drag it to the Trash. If you’re looking for more creative inspiration, check out taoti creative for a range of design and marketing services.
Once you’ve emptied the Trash, Creative Cloud will be completely removed from your MacBook.
Troubleshooting Tips
If you encounter any issues while disabling Creative Cloud services, here are some troubleshooting tips:
- Make sure you have the latest version of the Creative Cloud desktop application installed.
- Restart your computer after disabling or removing Creative Cloud services.
- Contact Adobe support for further assistance.
Additional Resources
[Adobe Creative Cloud Help
Manage Creative Cloud Libraries](https://helpx.adobe.com/creative-cloud/help/manage-libraries.html)
[Adobe Creative Cloud Help
Sync overview](https://helpx.adobe.com/creative-cloud/help/sync-overview.html)
[Adobe Creative Cloud Help
Uninstall the Creative Cloud desktop app](https://helpx.adobe.com/creative-cloud/help/uninstall-creative-cloud-desktop-app.html)
Removing Creative Cloud Account Information: How To Delete Creative Cloud From Macbook

Removing Creative Cloud account information ensures the complete removal of your account and associated data from your device.
Signing Out of the Creative Cloud Desktop Application
- Launch the Creative Cloud Desktop Application.
- Click the profile icon in the upper-right corner.
- Select “Sign Out” from the drop-down menu.
Removing the Creative Cloud Folder and Associated Files
Navigate to the following directory
“`/Library/Application Support/Adobe/Creative Cloud/“`
Delete the “Creative Cloud” folder and its contents.
Deleting the Creative Cloud Preferences File
Navigate to the following directory
“`/Users/[username]/Library/Preferences/“`
Delete the “com.adobe.CreativeCloud.plist” file.
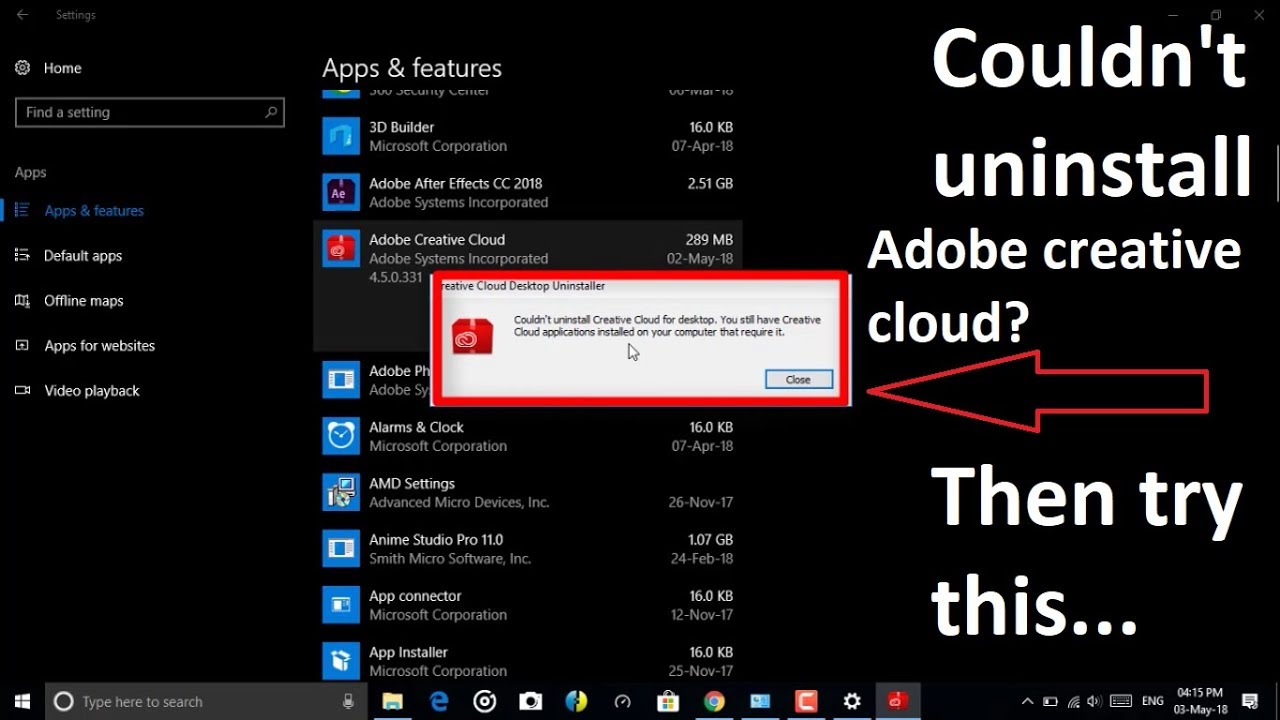
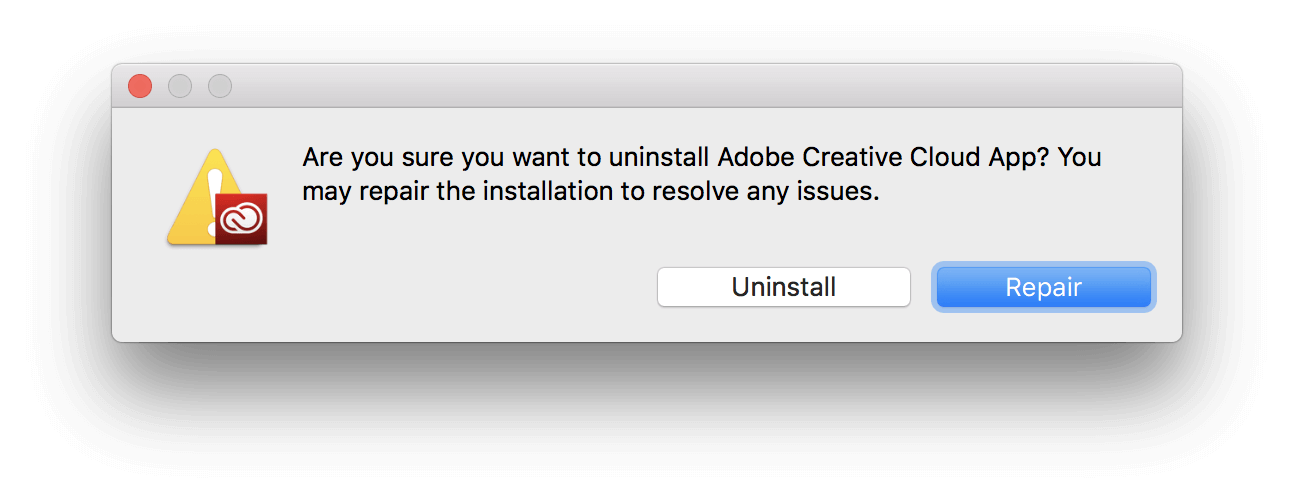
Troubleshooting Uninstall Issues

Uninstalling Creative Cloud can occasionally encounter issues. Here’s a guide to resolve common problems and ensure a successful uninstallation:
Identifying and Resolving Uninstall Errors
During the uninstallation process, you may encounter various errors. The table below lists common errors, their causes, and solutions:
| Error | Cause | Solution |
|---|---|---|
| Error 101 | Insufficient permissions | Run the uninstaller as an administrator. |
| Error 102 | Missing or corrupted files | Download the latest Creative Cloud installer and run it to repair the installation. |
| Error 103 | Antivirus software interference | Disable or temporarily uninstall your antivirus software. |
Using Command-Line Tools
If the standard uninstaller fails, you can use command-line tools to force the uninstallation. Open Terminal and run the following commands:
“`sudo rm
rf /Applications/Adobe\ Creative\ Cloud.app
sudo rm
rf ~/Library/Application\ Support/Adobe
“`
Potential Data Loss and Recovery
Uninstalling Creative Cloud typically does not delete your files. However, if you encounter any data loss, check the following locations:
- Documents folder
- Desktop
- Creative Cloud Files folder
If your files are missing, contact Adobe Support for assistance.
Reinstalling Creative Cloud

If you encounter any issues with Creative Cloud or need to reinstall it for any reason, follow these steps to ensure a smooth reinstallation process.
Before you begin, it’s crucial to back up your important files and settings. Creative Cloud may remove some of your preferences and data during the reinstallation process, so it’s essential to safeguard your work.
Downloading and Installing Creative Cloud
To download and install the latest version of Creative Cloud, visit the Creative Cloud website .
- Click on the “Download” button.
- Follow the on-screen instructions to complete the installation.
Troubleshooting Installation Issues
If you encounter any issues during the installation process, try the following troubleshooting tips:
- Ensure that your system meets the minimum requirements for Creative Cloud.
- Close all other applications running in the background.
- Restart your computer and try installing Creative Cloud again.
- Check the Adobe website for any known issues or updates related to Creative Cloud installation.
Reinstalling Creative CloudStep-by-Step Table
Step-by-Step Table
| Step | Action |
|---|---|
| 1 | Back up your files and settings. |
| 2 | Download the latest version of Creative Cloud from the Adobe website. |
| 3 | Follow the on-screen instructions to install Creative Cloud. |
| 4 | Troubleshoot any installation issues if necessary. |
| 5 | Log in to your Creative Cloud account and restore your preferences. |
Video Tutorial
For a visual demonstration of the Creative Cloud reinstallation process, refer to the following video tutorial:
Resetting Creative Cloud Preferences

Resetting Creative Cloud preferences can resolve various issues and restore the application to its default settings. It’s important to note that resetting preferences will erase all customized settings, so it’s recommended to back up your preferences before proceeding.
Accessing Preferences
To access preferences, launch the Creative Cloud Desktop Application and click on the gear icon in the upper-right corner. Select “Preferences” from the menu.
Resetting Preferences
There are two ways to reset preferences:
- Using the Preferences Manager:Click on the “Reset Preferences” button in the Preferences Manager. This will reset all preferences for all Creative Cloud applications.
- Deleting the Preferences File:Close all Creative Cloud applications. Navigate to the following locations and delete the “Adobe Creative Cloud” folder:
- Mac: /Users/[User Name]/Library/Preferences
- Windows: C:\Users\[User Name]\AppData\Roaming\Adobe
Note:Resetting preferences will erase all customized settings, including workspace layouts, keyboard shortcuts, and plug-in configurations. It’s recommended to back up your preferences before resetting them.
Troubleshooting
If you encounter any issues after resetting preferences, try the following:
- Restart your computer.
- Reinstall the Creative Cloud Desktop Application.
- Contact Adobe Support for assistance.
Deleting Creative Cloud Logs

Creative Cloud logs provide valuable insights into the application’s behavior and can be useful for troubleshooting issues. However, over time, these logs can accumulate and occupy significant storage space. It’s recommended to delete Creative Cloud logs periodically to maintain optimal performance.
Log files are typically located in the following directories:
- Windows:%USERPROFILE%\AppData\Local\Adobe\CreativeCloud\Logs
- Mac:~/Library/Logs/Adobe/Creative Cloud
Using Creative Cloud Cleaner Tool
Adobe provides a Creative Cloud Cleaner Tool that can be used to delete logs and other temporary files. To use the tool:
- Download the Creative Cloud Cleaner Tool from Adobe’s website.
- Run the tool and select the “Logs” option.
- Click the “Clean” button to delete the logs.
Deleting Logs on Windows
To delete logs on Windows:
- Open File Explorer and navigate to the following directory: %USERPROFILE%\AppData\Local\Adobe\CreativeCloud\Logs
- Select all the log files and delete them.
Deleting Logs on Mac
To delete logs on Mac:
- Open Finder and navigate to the following directory: ~/Library/Logs/Adobe/Creative Cloud
- Select all the log files and delete them.
Deleting Logs from Specific Creative Cloud Applications, How to delete creative cloud from macbook
You can also delete logs from specific Creative Cloud applications. To do this:
- Open the application and go to the Help menu.
- Select “Troubleshoot” and then “Open Log Files”.
- In the Finder or File Explorer window that opens, select the log files and delete them.
Summary Table
| Platform | Location | Method |
|---|---|---|
| Windows | %USERPROFILE%\AppData\Local\Adobe\CreativeCloud\Logs | File Explorer or Creative Cloud Cleaner Tool |
| Mac | ~/Library/Logs/Adobe/Creative Cloud | Finder or Creative Cloud Cleaner Tool |
Warning:Deleting Creative Cloud logs can remove valuable troubleshooting information. Only delete logs if you are experiencing performance issues or if you are certain that you do not need them for troubleshooting purposes.
Uninstalling Creative Cloud on M1 Macs

If you have an M1 Mac, you may encounter some specific considerations when uninstalling Creative Cloud. Here’s a guide to help you through the process:
Before you begin, ensure you have backed up any important files or projects. Additionally, you should sign out of all Creative Cloud applications and services.
Steps for Uninstalling Creative Cloud on M1 Macs
- Open the Finder and navigate to the Applications folder.
- Locate the Creative Cloud Uninstaller application and double-click to open it.
- Follow the on-screen prompts to uninstall Creative Cloud.
- Once the uninstallation is complete, restart your Mac.
After restarting your Mac, you can manually remove any remaining Creative Cloud files or folders by following the steps Artikeld in the “Removing Creative Cloud Files and Folders” section.
Uninstalling Creative Cloud on External Drives

If you have installed Creative Cloud applications on an external drive, you can uninstall them by following these steps:
- Open the Applications folder on your external drive.
- Locate the Creative Cloud uninstaller file (Uninstall Creative Cloud.app).
- Double-click the uninstaller file to launch it.
- Follow the on-screen instructions to uninstall Creative Cloud.
Removing Related Files
After uninstalling Creative Cloud, you may need to manually remove some related files from your external drive. These files include:
- The Creative Cloud folder in your Applications folder
- The Adobe Creative Cloud Library folder in your Documents folder
- Any Adobe application support files that may be located in your Library folder
– Include a list of common errors and their solutions.

When uninstalling Creative Cloud, you may encounter some common errors. Here are a few examples and their solutions:
– Error 1:“Could not find the uninstaller.” – Solution:Download the Creative Cloud Cleaner Tool and use it to uninstall Creative Cloud.
– Error 2:“The uninstaller is not compatible with this version of macOS.” – Solution:Download the latest version of the Creative Cloud Cleaner Tool.
– Error 3:“The uninstaller cannot delete all Creative Cloud files.” – Solution:Manually delete any remaining Creative Cloud files and folders.
Advanced Uninstall Methods
For persistent uninstallation issues, consider advanced methods.
Employ third-party uninstaller tools that scan and remove stubborn files. Exercise caution when selecting a tool, ensuring its reliability and compatibility with your system.
Manual File Deletion
Manually locate and delete Creative Cloud-related files and folders:
- Applications folder: Delete Adobe Creative Cloud and individual Creative Cloud applications.
- Library folder: Remove files from ~/Library/Application Support/Adobe, ~/Library/Preferences/Adobe, and ~/Library/Caches/Adobe.
- System folder: Delete files from /System/Library/Extensions/Adobe.
Common Queries
How do I uninstall Creative Cloud Desktop Application?
Locate it in the Applications folder and drag it to the Trash.
Where can I find Creative Cloud files and folders?
They are stored in the Library folder.
Why is it important to clear Creative Cloud cache?
It can improve performance and reduce application crashes.
How do I disable Creative Cloud services?
Access the Creative Cloud desktop app’s Preferences and uncheck the relevant options.
What should I do if I encounter issues during uninstallation?
Try using the Creative Cloud Cleaner Tool or refer to the troubleshooting tips provided in this guide.
