Welcome to the world of Creative Nails 2, where nail art becomes a canvas for your imagination. Dive into a vibrant realm of techniques, colors, patterns, and embellishments that will transform your nails into mini masterpieces.
From intricate designs to eye-catching color combinations, this comprehensive guide will empower you to unleash your creativity and elevate your nail art to new heights. Get ready to embrace your personal style and make a statement with every stroke of your nail brush.
Nail Art Techniques

Nail art techniques are methods used to create intricate designs, embellishments, and special effects on fingernails.
These techniques range from simple brushstrokes to complex airbrushing and 3D sculpting, allowing for a wide variety of artistic expressions on nails.
Freehand Painting
Freehand painting involves using a brush to create designs directly onto the nail.
This technique requires a steady hand and artistic skill, but allows for unique and personalized nail art.
Stamping
Stamping is a technique that uses a metal plate with etched designs to transfer patterns onto the nail.
It is a quick and easy way to create intricate designs, especially for beginners.
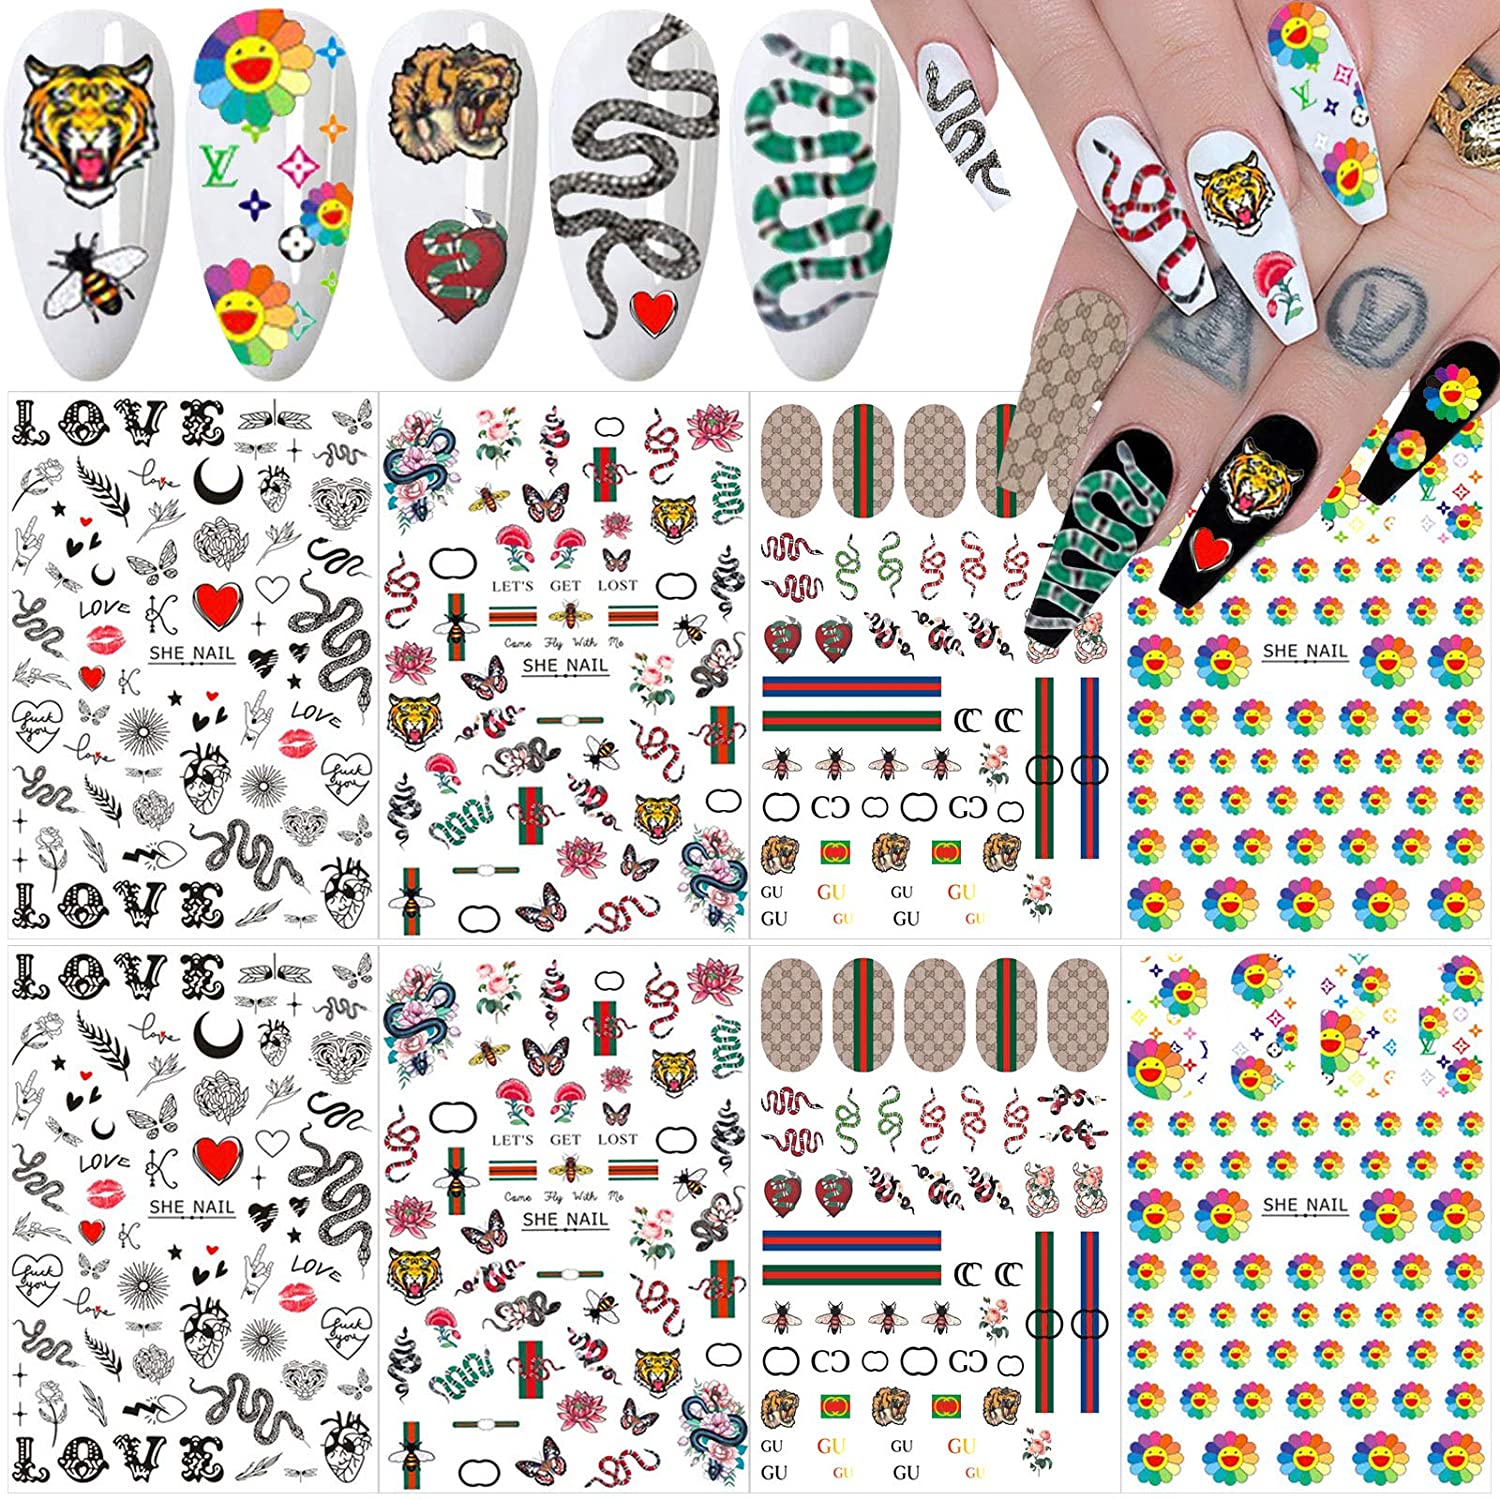
Decals and Stickers
Decals and stickers are pre-made designs that can be applied to the nail.
They come in a wide variety of patterns and colors, offering an instant way to add embellishments to nails.
Water Marbling
Water marbling is a technique that creates unique and colorful patterns by swirling different nail polish colors on the surface of water.
The nail is then dipped into the water to transfer the design.
Airbrushing
Airbrushing uses a small air compressor to spray fine mists of nail polish onto the nail.
In the realm of nail art, “Creative Nails 2” stands out as a haven of inspiration. To elevate your creativity further, venture into the world of “Creative Cabana,” an online oasis that nurtures artistic expression. Immerse yourself in a community of like-minded souls and find inspiration to transform your nails into captivating canvases.
Return to “Creative Nails 2” armed with fresh ideas and techniques, ready to unleash your inner nail artist.
This technique allows for precise control over the application of color and can create intricate designs and gradients.
3D Nail Art
3D nail art involves using acrylics, gels, or other materials to create three-dimensional embellishments on the nail.
This technique can be used to create realistic sculptures, gems, or other decorative elements.
Color Combinations and Patterns

Nail art is all about expressing your creativity, and one of the best ways to do that is to experiment with different color combinations and patterns. There are endless possibilities when it comes to nail designs, so don’t be afraid to get creative and try something new.
Complementary and Contrasting Shades
One of the most popular ways to create eye-catching nail designs is to use complementary or contrasting shades. Complementary colors are colors that are opposite each other on the color wheel, such as blue and orange or red and green.
Contrasting colors are colors that are next to each other on the color wheel, such as blue and purple or red and yellow. Both complementary and contrasting colors can create stunning nail designs when used together.
Ombre Effects
Ombre effects are another great way to add visual interest to your nails. Ombre is the gradual blending of two or more colors, and it can be created using a variety of techniques. One popular technique is to use a makeup sponge to apply the colors.
Another technique is to use a brush to blend the colors together.
Geometric Patterns
Geometric patterns are a great way to add a modern touch to your nails. There are many different types of geometric patterns that you can create, such as stripes, polka dots, and chevron. You can use nail art tools or freehand techniques to create geometric patterns.
Negative Space
Negative space is the area of your nail that is not painted. Negative space can be used to create contrast and highlight patterns. You can create negative space by leaving some of your nail unpainted, or by using nail art tools to create shapes.
Seasonal or Themed Nail Art Designs
Seasonal or themed nail art designs are a great way to show off your personality. For example, you could create a patriotic nail design for the Fourth of July, or a spooky nail design for Halloween. There are endless possibilities when it comes to seasonal or themed nail art designs, so get creative and have fun!
Embellishments and Accessories

Embellishments and accessories are essential tools for enhancing creative nail designs and adding a touch of glamour and individuality to your nails.
Explore the world of embellishments and accessories to discover a wide range of options that can transform your nails into miniature works of art.
Studs
- Studs are small, raised embellishments that add a touch of texture and dimension to nail designs.
- They come in various shapes, sizes, and colors, allowing you to create intricate patterns and designs.
- Studs can be applied to both natural and artificial nails using nail glue or a specialized adhesive.
Rhinestones
- Rhinestones are small, sparkling crystals that add a touch of glamour and elegance to nail designs.
- They are available in a wide range of colors and sizes, from tiny accents to larger statement pieces.
- Rhinestones can be applied to nails using nail glue or a special adhesive designed for rhinestones.
Glitter
- Glitter is a versatile embellishment that can add a touch of sparkle and shimmer to nail designs.
- It comes in various colors, textures, and sizes, allowing you to create a wide range of effects.
- Glitter can be applied to nails using a clear nail polish base or a specialized glitter adhesive.
Charms
- Charms are small, decorative pieces that can add a touch of whimsy and personality to nail designs.
- They come in various shapes, sizes, and themes, from tiny hearts to intricate animals.
- Charms can be attached to nails using a jump ring or a specialized adhesive designed for charms.
Nail Shapes and Lengths

The shape and length of your nails play a crucial role in determining the overall look and impact of your creative nail designs. Different shapes complement various designs, offering unique canvases for artistic expression.
Stiletto Nails
Stiletto nails are characterized by their long, pointed tips and sharp sidewalls. This dramatic shape elongates the fingers and creates a sophisticated, eye-catching look. Stiletto nails are ideal for intricate designs with fine lines and details that accentuate their length and sharpness.
Almond Nails
Almond nails have a similar shape to stiletto nails but with a softer, rounded tip. This versatile shape flatters most hand shapes and is suitable for a wide range of designs. Almond nails provide ample space for both bold and delicate nail art, making them a popular choice for both everyday and special occasion manicures.
Square Nails
Square nails have straight, parallel sides and a flat tip. This classic shape is timeless and elegant, and it complements both simple and complex nail designs. Square nails offer a sturdy base for bold colors, geometric patterns, and intricate embellishments.
Oval Nails
Oval nails have a rounded shape with no sharp edges. This soft, feminine shape is perfect for creating a natural and understated look. Oval nails are ideal for subtle nail art, such as sheer polishes, soft gradients, and delicate floral designs.
Nail Polish Trends: Creative Nails 2
Nail polish trends are constantly evolving, offering new and exciting ways to express your personal style. From bold and bright colors to soft and pastel hues, there’s a trend out there for everyone. Here’s a closer look at some of the most popular nail polish trends and how you can incorporate them into your next nail art design.
Bold and Bright
Bold and bright colors are a great way to make a statement with your nails. Neon shades, jewel tones, and metallics are all popular choices for this trend. You can wear these colors on their own or combine them to create eye-catching designs.
For example, you could try a geometric pattern with neon pink and blue or a color block design with metallic gold and silver.
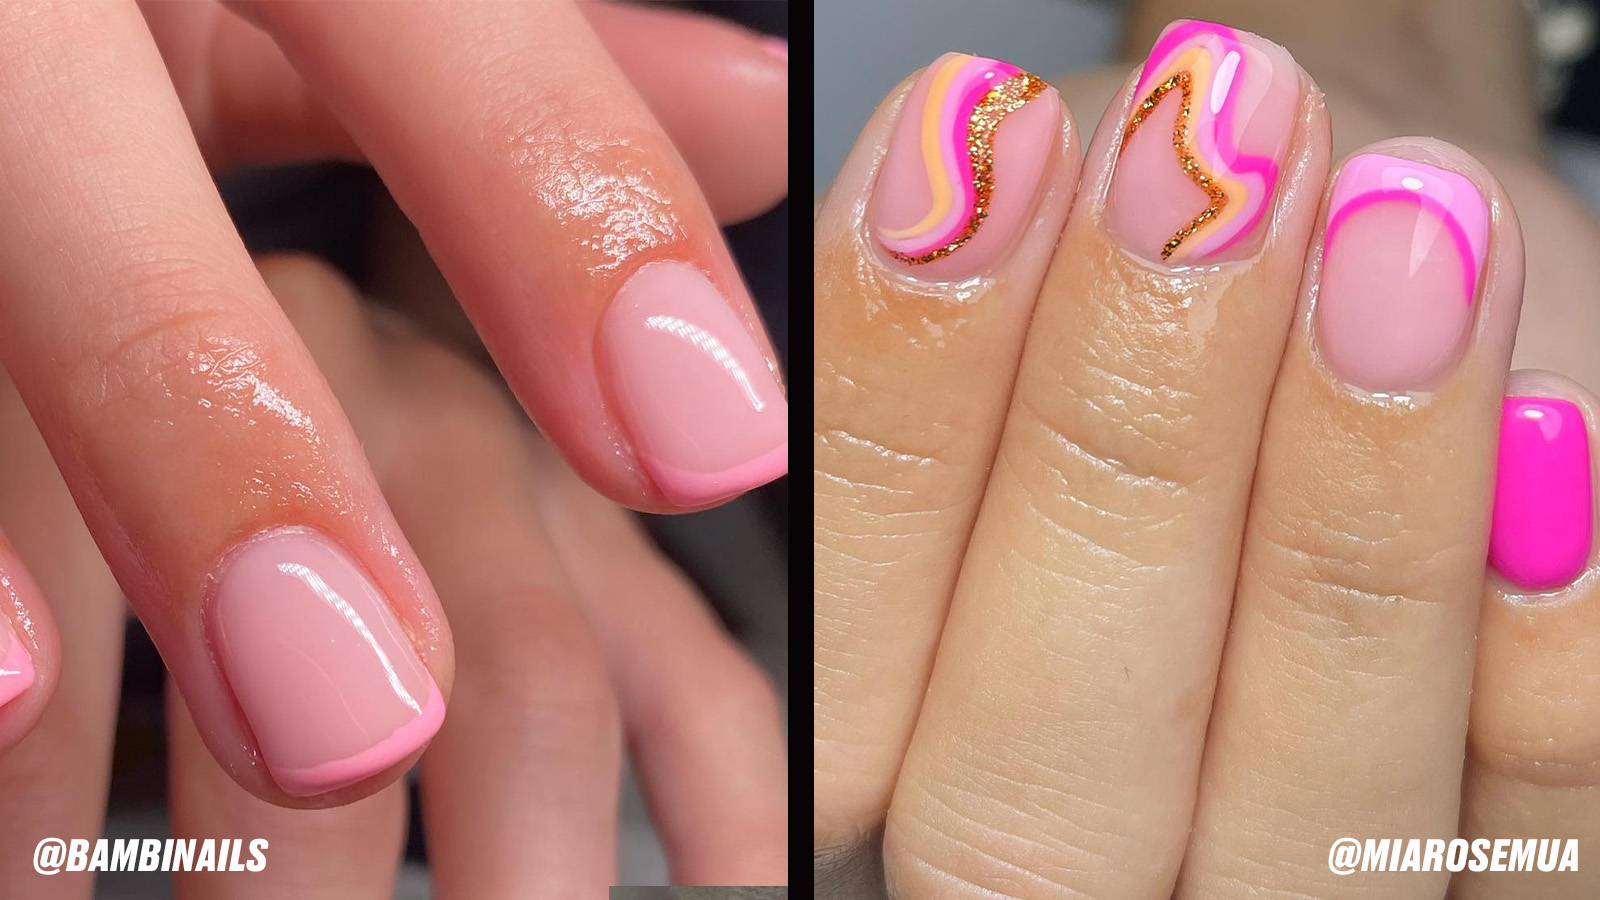
Soft and Pastel
If you prefer a more subtle look, soft and pastel colors are a great option. Baby pink, lavender, and mint are all popular choices for this trend. These colors can be worn on their own or combined to create delicate and feminine designs.
For example, you could try a floral design with baby pink and lavender or an ombre design with mint and white.
Metallic
Metallic nail polish is a great way to add a touch of glamour to your nails. Gold, silver, and copper are all popular choices for this trend. You can wear metallic nail polish on its own or combine it with other colors to create eye-catching designs.
For example, you could try an abstract design with gold and black or a negative space design with silver and white.
Nude and Natural
Nude and natural nail polish is a great option for those who want a more understated look. Beige, peach, and white are all popular choices for this trend. These colors can be worn on their own or combined to create minimalist designs.
For example, you could try a French tip design with beige and white or a sheer design with peach and nude.
Holographic and Iridescent
Holographic and iridescent nail polish is a great way to add a touch of magic to your nails. Rainbow, mermaid, and opal are all popular choices for this trend. These colors can be worn on their own or combined to create eye-catching designs.
For example, you could try an abstract design with holographic and iridescent polish or a galaxy design with blue and purple holographic polish.
Inspiration and References

Unlock your creativity with an abundance of inspiration and references to elevate your nail designs. Explore online galleries, magazines, and social media platforms to discover a vast array of styles, trends, and techniques that will ignite your imagination.
Online Galleries
- Pinterest: An extensive platform with millions of nail art ideas, categorized by styles, colors, and themes.
- Nail Art Gallery: A dedicated website showcasing intricate and inspiring nail designs from talented artists worldwide.
- Instagram: Follow nail artists and salons to stay updated on the latest trends and discover unique designs.
Magazines
- Nailpro Magazine: A leading publication covering the latest techniques, products, and trends in the nail industry.
- Nail It! Magazine: A bi-monthly magazine featuring tutorials, interviews, and inspiring nail designs.
- Modern Salon: A magazine providing comprehensive coverage of the beauty industry, including nail art trends.
Social Media Platforms
- Facebook Groups: Join nail art communities to connect with other enthusiasts, share ideas, and seek inspiration.
- YouTube: Search for nail art tutorials and videos showcasing innovative techniques and designs.
- TikTok: Discover short-form videos featuring quick and easy nail art ideas, as well as emerging trends.
As you browse these references, pay attention to specific elements such as color combinations, patterns, embellishments, and overall styles. Note the shapes and lengths of the nails in the designs and consider how they might adapt to your own nail type.
By incorporating elements from these references, you can create unique and captivating nail designs that express your personal style and reflect the latest trends.
Nail Art Tutorials

Nail art tutorials are a great way to learn how to create beautiful and unique nail designs. There are many different types of nail art tutorials available, from simple step-by-step guides to more advanced video tutorials. No matter what your skill level, you can find a nail art tutorial that will help you create the perfect look for your nails.There are many different types of nail art designs that you can create, from simple stripes and polka dots to more complex designs like flowers and animals.
With a little practice, you can master any nail art design.
Materials for Nail Art
The materials you need for nail art will vary depending on the design you are creating. However, there are some basic materials that you will need for most nail art designs, such as:* Nail polish in various colors
- Nail art brushes
- Dotting tools
- Stencils
- Glitter
- Rhinestones
- Top coat
Nail Art for Special Occasions

Nail art for special occasions is a great way to add a touch of glamour and sophistication to your look. Whether you’re attending a wedding, a party, or a holiday celebration, there are many creative nail designs that you can choose from.
For weddings, you can opt for elegant and classic designs, such as French manicures or lace-inspired nail art. You can also incorporate the wedding colors into your design, or add some subtle embellishments, such as pearls or crystals. For parties, you can be more playful with your nail art.
Try bright colors, bold patterns, or even some fun nail stickers. And for holidays, you can get creative with themed designs, such as snowflakes for Christmas or pumpkins for Halloween.
Themed Designs
If you’re looking for a truly unique nail design for a special occasion, consider creating a themed design. This could be anything from a patriotic design for the Fourth of July to a whimsical design for a birthday party. To create a themed design, start by brainstorming ideas that are relevant to the occasion.
Once you have a few ideas, you can start to experiment with different colors, patterns, and embellishments until you find a design that you love.
Elegant Embellishments
Embellishments can add a touch of luxury and sophistication to your nail art. For special occasions, consider using embellishments such as pearls, crystals, or glitter. You can also use nail stickers or stamping to create intricate designs. If you’re not sure how to use embellishments, there are many tutorials available online that can help you get started.
Nail Art for Different Skin Tones
Choosing the right nail art design for your skin tone can make a big difference in the overall look of your nails. Here are a few tips on how to choose flattering colors and patterns:
Colors for Different Skin Tones
* Light skin tones:Light skin tones can wear almost any color of nail polish, but they look especially good in light pinks, nudes, and whites. They can also wear bolder colors like reds and blacks, but these colors may look more harsh against their skin.
Medium skin tones
Medium skin tones can wear a wide range of colors, including pinks, corals, oranges, and reds. They can also wear darker colors like browns and blacks, but these colors may look more muted against their skin.
Dark skin tones
Dark skin tones look best in bold colors like reds, oranges, and yellows. They can also wear lighter colors like pinks and nudes, but these colors may look washed out against their skin.
Patterns for Different Skin Tones
* Light skin tones:Light skin tones can wear any type of pattern, but they look especially good in delicate patterns like florals and lace. They can also wear bolder patterns like stripes and polka dots, but these patterns may look more overwhelming against their skin.
Medium skin tones
Medium skin tones can wear a wide range of patterns, including florals, stripes, and polka dots. They can also wear more intricate patterns like geometric designs and animal prints.
Dark skin tones
Dark skin tones look best in bold patterns like geometric designs and animal prints. They can also wear lighter patterns like florals and stripes, but these patterns may look lost against their skin.
Nail Health and Maintenance

Healthy, well-maintained nails are essential for creating beautiful and durable nail designs. Proper care can strengthen nails, prevent damage, and keep them looking their best.
Here are some tips for proper nail care:
Nail Care Tips
- Keep nails clean and dry to prevent the growth of bacteria and fungi.
- Trim nails regularly to prevent breakage and keep them a manageable length.
- File nails in one direction to avoid splitting and weakening.
- Moisturize nails and cuticles regularly with a cuticle oil or lotion to keep them hydrated and healthy.
- Wear gloves when handling harsh chemicals or cleaning products to protect nails from damage.
- Avoid biting or picking at nails, as this can damage the nail bed and lead to infection.
In addition to following these tips, there are a number of treatments and products that can help strengthen nails and prevent damage, such as:
Strengthening Techniques
- Nail hardeners: These products can help strengthen weak or brittle nails.
- Nail wraps: These are thin, adhesive strips that can be applied to nails to provide additional support and protection.
- Biotin supplements: Biotin is a vitamin that can help strengthen nails and hair.
Avoiding Damage
There are a number of things you can do to avoid damaging your nails, including:
- Avoid using harsh nail polish removers.
- Don’t over-file your nails.
- Wear gloves when handling harsh chemicals.
- Don’t bite or pick at your nails.
Benefits of Regular Nail Maintenance
| Benefit | Explanation |
|---|---|
| Stronger nails | Regular maintenance helps to strengthen nails and prevent breakage. |
| Healthier nails | Proper care can help to keep nails healthy and free of infection. |
| More beautiful nails | Healthy, well-maintained nails look better and are more receptive to nail designs. |
Common Nail Problems and Solutions
- Brittle nails:Can be caused by dehydration, vitamin deficiencies, or thyroid problems. Solutions include using a nail hardener, taking biotin supplements, and moisturizing nails regularly.
- Weak nails:Can be caused by over-filing, exposure to harsh chemicals, or certain medical conditions. Solutions include using a nail strengthener, wearing gloves when handling harsh chemicals, and avoiding over-filing.
- Yellow nails:Can be caused by smoking, nail polish, or certain medications. Solutions include using a nail whitener, avoiding smoking, and talking to your doctor about any medications that may be causing the yellowing.
- Nail fungus:A fungal infection that can cause nails to become discolored, thickened, and brittle. Solutions include using an antifungal medication, keeping nails clean and dry, and wearing shoes that fit well.
“Healthy nails are the foundation for beautiful nail art. By following these tips, you can keep your nails strong, healthy, and looking their best.”
– Jessica Washick, celebrity nail artist
Nail Art Equipment and Supplies

Creating captivating nail art requires a collection of essential equipment and supplies that empower you to transform your nails into mini masterpieces. From precision tools to vibrant products, each item plays a crucial role in bringing your creative visions to life.
This comprehensive guide will introduce you to the must-have tools, products, and materials that will elevate your nail art skills and allow you to achieve stunning results.
Essential Tools
- Nail Clippers:Precision clippers are essential for shaping and trimming nails to your desired length.
- Nail Files:A variety of files, including emery boards and glass files, are used to refine nail shape, smooth edges, and remove imperfections.
- Cuticle Pusher:This tool gently pushes back cuticles, creating a clean and defined nail bed for optimal nail art application.
- Dotting Tools:Dotting tools come in various sizes and shapes, allowing you to create intricate designs and patterns with precision.
- Striper Brush:A striper brush with a fine tip is ideal for creating thin lines, swirls, and other delicate details.
Essential Products
- Base Coat:A base coat provides a smooth and even surface for nail polish adhesion, preventing chipping and peeling.
- Nail Polish:A vast array of nail polish colors and finishes, from classic shades to shimmering metallics, allows for endless creative possibilities.
- Top Coat:A top coat seals and protects your nail art, extending its wear time and enhancing its shine.
- Nail Art Pens:Nail art pens are available in a range of colors and tips, offering precise application for detailed designs.
- Glitter and Sequins:Adding glitter and sequins to your nail art adds sparkle and glamour, creating eye-catching effects.
Essential Materials
- Nail Polish Remover:Nail polish remover is essential for removing mistakes, cleaning brushes, and preparing nails for new designs.
- Cotton Balls or Pads:Cotton balls or pads are used to apply nail polish remover and wipe away excess product.
- Paper Towels:Paper towels are handy for cleaning up spills and protecting surfaces during nail art creation.
- Nail Art Tape:Nail art tape helps create clean lines and geometric patterns, adding precision to your designs.
- UV/LED Lamp:For gel nail polish, a UV/LED lamp is necessary to cure the polish and achieve a durable finish.
Design Organization and Storage

Organizing and storing creative nail designs is crucial for easy access and inspiration. Establish a designated space for design storage and use clear containers or folders to categorize different designs. Label containers with specific themes or techniques for quick identification.
Creating a Design Portfolio, Creative nails 2
Create a portfolio to showcase your best designs. Include high-quality images of finished nails, along with descriptions of techniques, colors, and inspiration. Regularly update your portfolio to reflect your latest work and inspire clients.
Keeping Supplies Tidy
Keep nail art supplies organized to prevent clutter and maintain efficiency. Use drawer organizers or magnetic strips to store small items like beads, studs, and foils. Utilize vertical storage solutions like shelves or pegboards to display larger items like brushes and gels.
Nail Art Business
Starting a nail art business can be a lucrative opportunity for creative individuals with a passion for nail design. The nail art industry continues to grow, with an increasing demand for unique and intricate nail designs.
Opportunities for Turning Creative Nail Designs into a Business
* Offer a range of nail art services:Cater to different customer preferences by offering various nail art styles, from classic manicures to elaborate nail designs.
Sell nail art products
Create and sell your own line of nail art products, such as nail polishes, brushes, and embellishments.
Host nail art workshops
Share your skills and knowledge by hosting nail art workshops for aspiring nail artists.
Collaborate with other businesses
Partner with salons, spas, and fashion designers to offer nail art services as part of their offerings.
FAQ Insights
What are some popular nail art techniques?
Nail art techniques include stamping, marbling, water decals, freehand painting, and using stencils.
How can I choose the right nail polish colors for my skin tone?
Consider your skin’s undertones (warm, cool, or neutral) when choosing nail polish colors. Warm skin tones look good with warm colors like reds, oranges, and yellows. Cool skin tones suit cool colors like blues, greens, and purples. Neutral skin tones can wear both warm and cool colors.
How do I make my nail art last longer?
Use a base coat before applying nail polish and a top coat after to protect your design. Avoid using your nails as tools and wear gloves when doing chores to prevent chipping.
