Uninstalling Adobe Creative Cloud applications can be a daunting task, but with the Creative Cloud Uninstaller for Mac, it’s a breeze. This comprehensive guide will walk you through the entire process, from preparing your system to verifying the uninstallation, ensuring a seamless and efficient experience.
Whether you’re experiencing technical difficulties, need to free up disk space, or simply want to remove unused applications, this guide has got you covered. We’ll delve into advanced features, troubleshooting tips, and best practices to empower you with the knowledge to handle any uninstallation scenario with confidence.
Creative Cloud Uninstaller Overview

The Creative Cloud Uninstaller is a tool designed specifically for Mac users to remove Adobe Creative Cloud applications and components efficiently and thoroughly.
Using the uninstaller offers several benefits, including:
- Complete removal of Creative Cloud applications and all associated files, ensuring a clean and clutter-free system.
- Automated uninstallation process, eliminating the need for manual searching and deletion of files, reducing the risk of leaving behind残留物.
- Option to remove specific components or reset preferences, providing flexibility and customization during the uninstallation process.
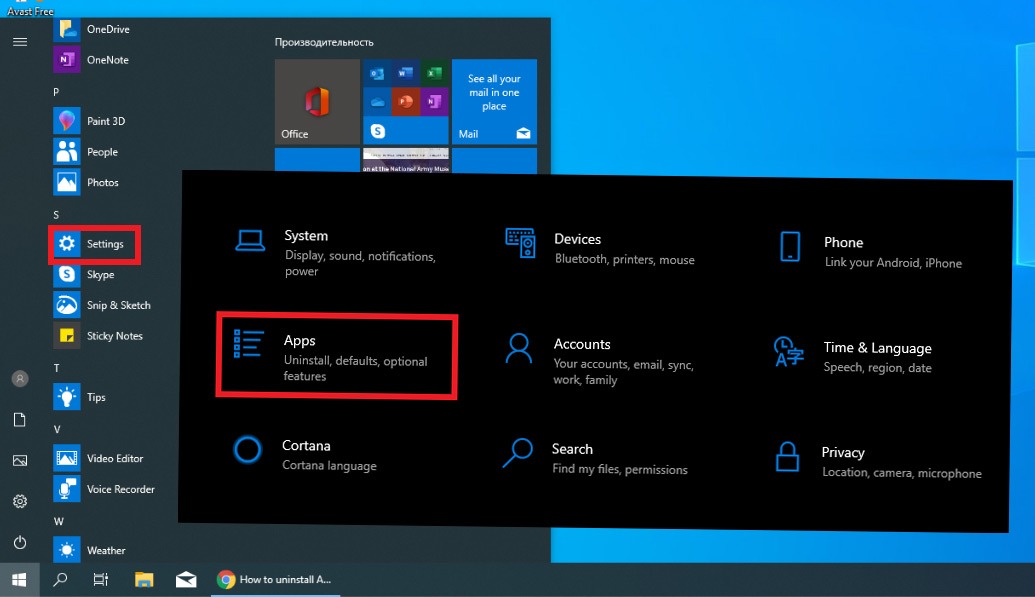
How to Use the Creative Cloud Uninstaller
To use the Creative Cloud Uninstaller, follow these steps:
- Download the Creative Cloud Uninstaller from Adobe’s website.
- Run the uninstaller and follow the on-screen prompts.
- Select the Creative Cloud applications and components you want to remove.
- Click the “Uninstall” button to initiate the uninstallation process.
- Once the uninstallation is complete, restart your Mac to ensure all changes take effect.
Uninstallation Process

The Creative Cloud Uninstaller is a tool that helps you remove Adobe Creative Cloud applications and components from your Mac computer. Here’s a step-by-step guide on how to use it:
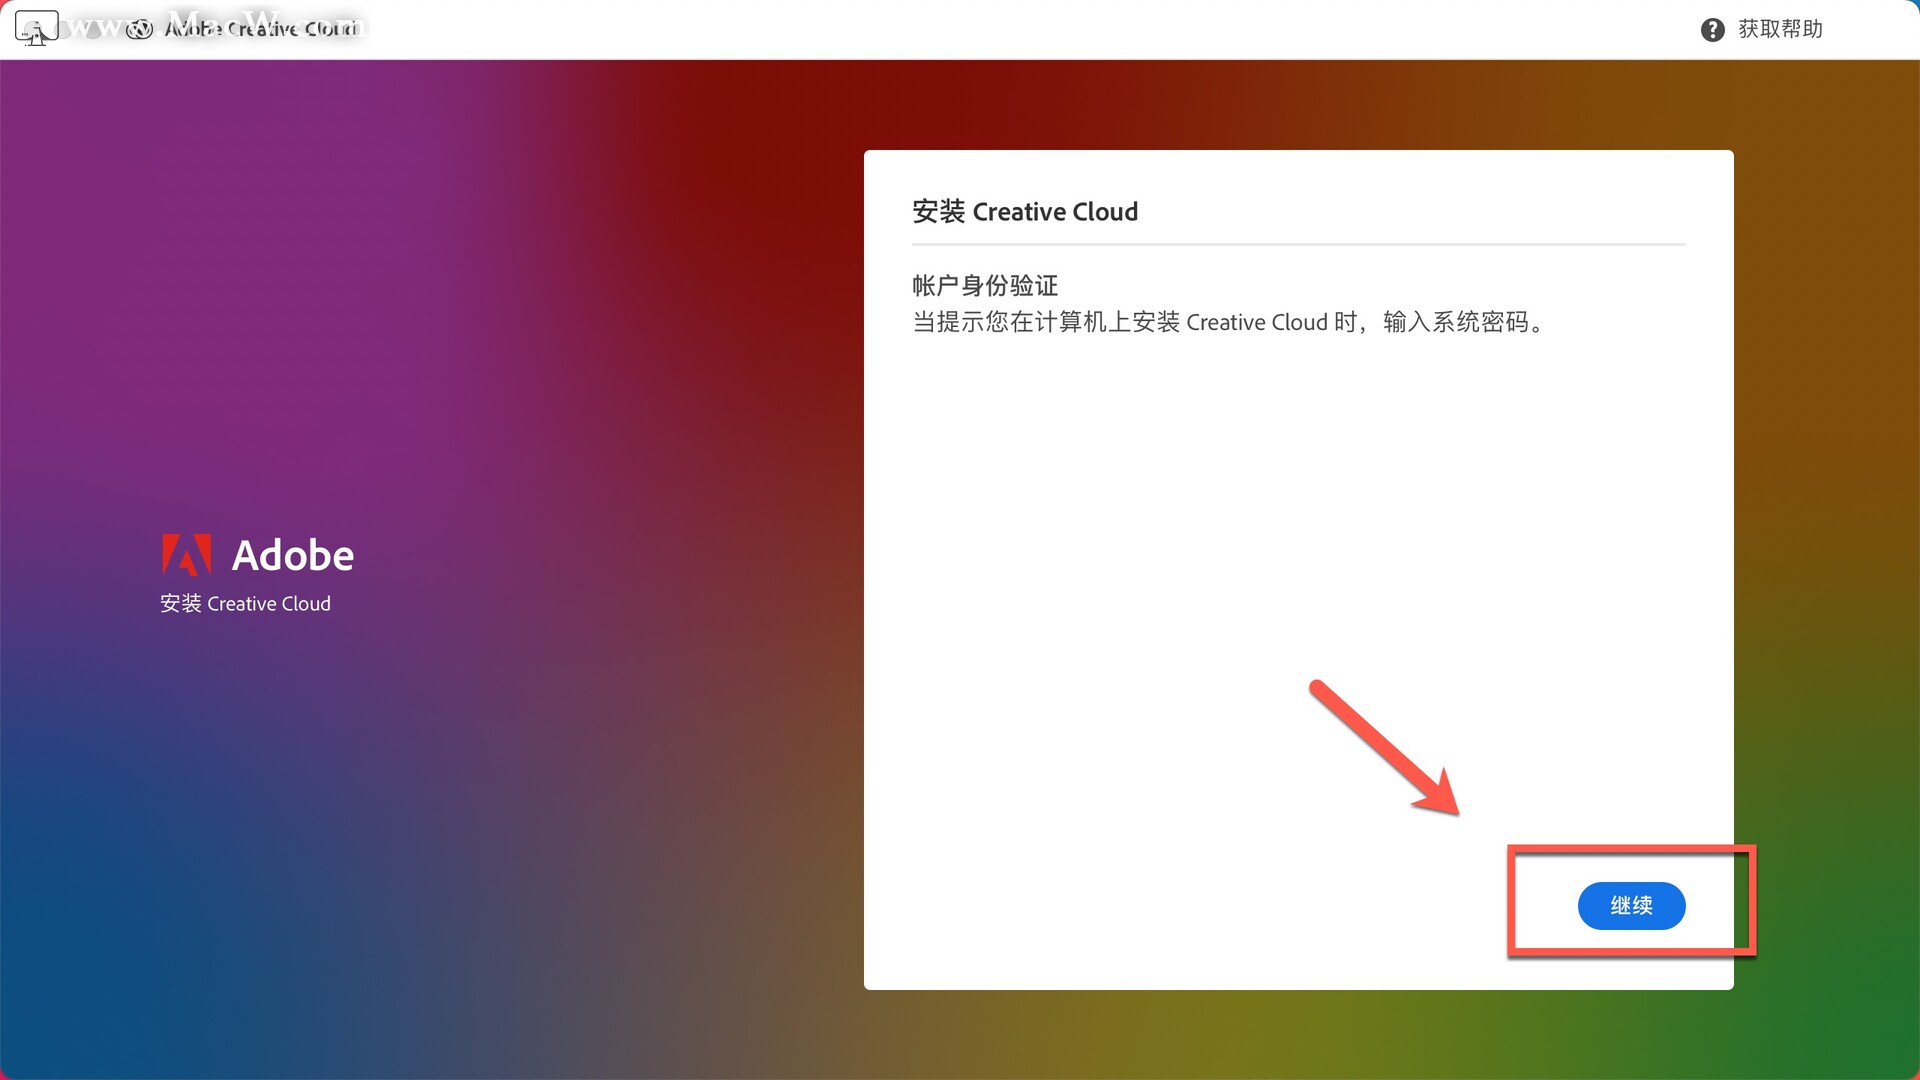
Step 1: Download the Creative Cloud Uninstaller
- Go to the Adobe website and download the Creative Cloud Uninstaller for Mac.
- Double-click the downloaded file to open it.
Step 2: Run the Uninstaller
- In the Creative Cloud Uninstaller window, select the applications you want to remove.
- Click the Uninstall button.
Step 3: Follow the On-Screen Instructions
- The uninstaller will guide you through the rest of the process.
- Follow the on-screen instructions to complete the uninstallation.
Step 4: Restart Your Computer
- Once the uninstallation is complete, restart your computer.
- This will ensure that all the changes made by the uninstaller take effect.
Troubleshooting
- If you encounter any problems during the uninstallation process, you can refer to the Adobe support website for help.
- You can also contact Adobe customer support for assistance.
Compatibility and System Requirements: Creative Cloud Uninstaller For Mac

To ensure a seamless uninstallation experience, it’s essential to verify that your Mac meets the compatibility and system requirements for the Creative Cloud Uninstaller.
The Creative Cloud Uninstaller is compatible with the following macOS versions:
- macOS Catalina (10.15)
- macOS Big Sur (11)
- macOS Monterey (12)
- macOS Ventura (13)
Additionally, the uninstaller requires the following minimum system requirements:
- Processor: Intel Core i5 or equivalent
- Memory (RAM): 8GB
- Storage: 1GB of available hard-disk space
Troubleshooting Common Issues
The Creative Cloud Uninstaller is generally reliable, but some users may encounter issues during the uninstallation process. This section identifies common problems and provides solutions or workarounds to help resolve them.
If you encounter any issues not covered in this section, refer to the Adobe support website for additional assistance.
Uninstallation Fails
If the uninstallation process fails, try the following:
- Restart your computer and try again.
- Make sure you have sufficient permissions to uninstall the software.
- Check if any other programs are running in the background that may be interfering with the uninstallation process. Close those programs and try again.
- Download the Creative Cloud Uninstaller from the Adobe website and run it manually.
Files Remain After Uninstallation
If files remain on your computer after uninstalling Creative Cloud, try the following:
- Use a third-party uninstaller to remove any leftover files.
- Manually delete the remaining files from the following locations:
- /Applications/Utilities/Adobe Installers
- /Library/Application Support/Adobe
- /Library/Preferences/Adobe
Error Messages
If you encounter any error messages during the uninstallation process, try the following:
- Restart your computer and try again.
- Check the Adobe support website for information on the specific error message you encountered.
- Contact Adobe support for assistance.
– Provide a detailed explanation of the steps involved in using the Creative Cloud Uninstaller to remove specific applications.

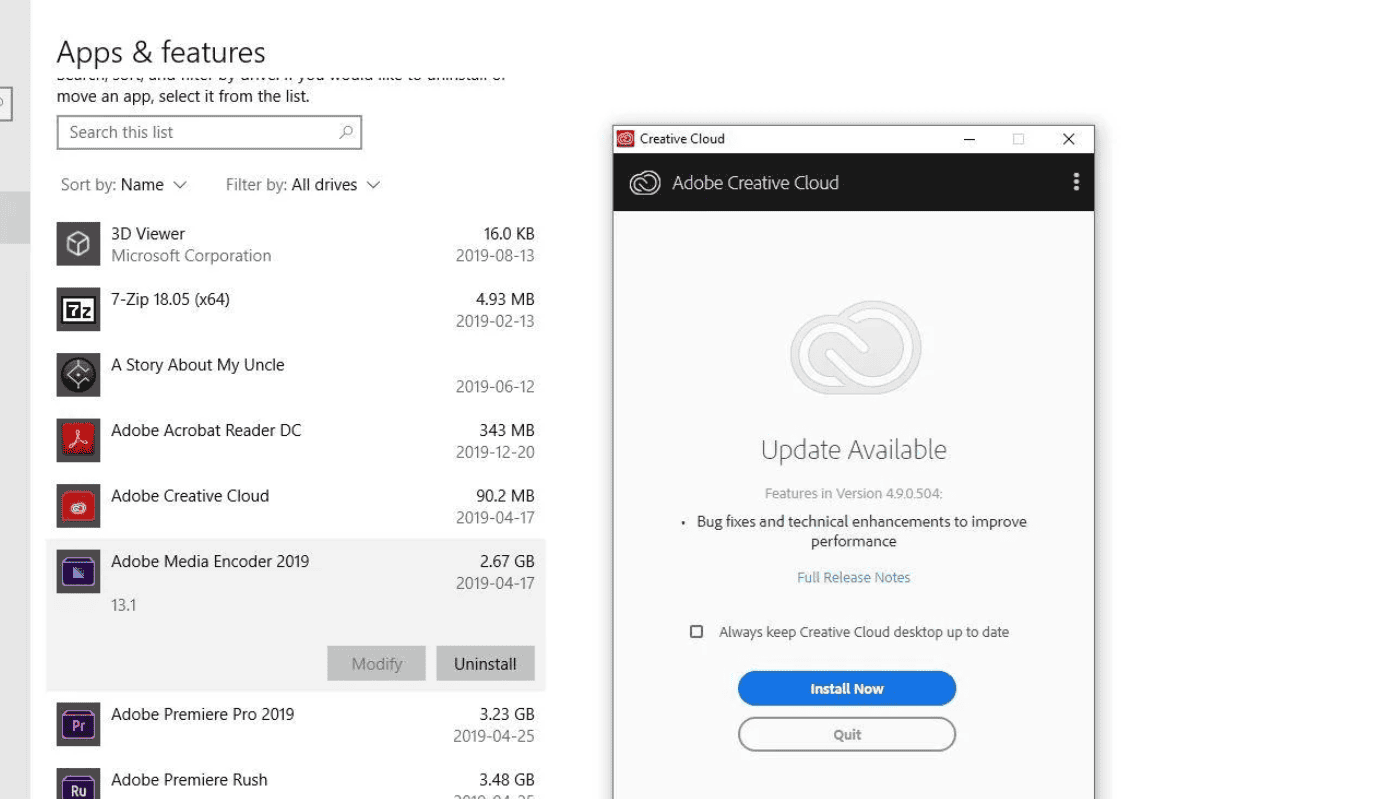
Uninstalling specific applications using the Creative Cloud Uninstaller is a straightforward process. To begin, open the Creative Cloud desktop application and click on the “Apps” tab. Locate the application you want to remove and click on the three dots next to its name.
Select “Uninstall” from the drop-down menu that appears.
The Creative Cloud Uninstaller will now launch and guide you through the uninstallation process. Follow the on-screen instructions carefully, and ensure that you close all open instances of the application before proceeding with the uninstallation.
Additional Considerations for Specific Applications
While the general uninstallation process remains the same for all applications, there are a few specific considerations to keep in mind when uninstalling certain applications:
- Photoshop:Close all open Photoshop documents and quit the application before uninstalling.
- Illustrator:Uninstall any plugins or extensions that were installed for Illustrator before uninstalling the application.
- Premiere Pro:Clear the Premiere Pro cache before uninstalling the application.
By following these additional steps, you can ensure a clean and complete uninstallation of the desired application.
Removing Residual Files and Folders
After using the Creative Cloud Uninstaller, there may still be some residual files or folders left behind. These remnants can take up space on your hard drive and potentially cause issues with future installations or uninstalls.
To manually remove residual files and folders, you can use Finder or Terminal. Here’s how:
Using Finder
- Open Finder and navigate to the following folder: ~/Library/Application Support/Adobe
- Delete any folders related to the applications you uninstalled.
Using Terminal
- Open Terminal and enter the following command:
find ~/Library/Application Support/Adobe-name "Application Name" -delete- Replace “Application Name” with the name of the application you want to remove.
Here’s a table summarizing the commands and their corresponding file paths:
| Command | File Path |
|---|---|
find ~/Library/Application Support/Adobe | ~/Library/Application Support/Adobe |
Troubleshooting Common Issues
- If you encounter any errors while deleting residual files, try restarting your Mac and trying again.
- If you’re still having trouble, you can contact Adobe Support for assistance.
– Explain how to reinstall Creative Cloud applications after using the uninstaller.

Reinstalling Creative Cloud applications is a straightforward process that can be completed in a few simple steps. Follow the instructions below to ensure a successful reinstallation.
Before you begin, it’s important to back up any important files or projects. This will ensure that your work is protected in case of any unexpected issues during the reinstallation process.
Downloading and Installing the Latest Versions
To reinstall Creative Cloud applications, you will need to download and install the latest versions from the Adobe website. You can find the latest versions by visiting the Creative Cloud website and selecting the “Downloads” tab.
Once you have downloaded the latest versions, double-click on the installation files to begin the installation process. Follow the on-screen instructions to complete the installation.
Reinstalling Specific Applications
If you only need to reinstall specific Creative Cloud applications, you can do so by following these steps:
- Open the Creative Cloud desktop app.
- Click on the “Apps” tab.
- Find the application you want to reinstall and click on the “Install” button.
- Follow the on-screen instructions to complete the installation.
Troubleshooting Common Errors
If you encounter any errors during the reinstallation process, you can try the following troubleshooting tips:
- Make sure that you have a stable internet connection.
- Restart your computer and try again.
- Run the Creative Cloud Cleaner Tool to remove any corrupted files.
- Contact Adobe support for assistance.
Best Practices for Uninstalling Creative Cloud

Uninstalling Creative Cloud applications requires careful planning and attention to detail to ensure a clean and complete removal. Here are some best practices to follow:
Backup your files:Before uninstalling any Creative Cloud applications, it is crucial to back up your important files. This includes any projects, assets, and preferences you have created or modified within the applications.
Deactivate licenses:To avoid any licensing issues or interruptions, it is essential to deactivate the licenses for any Creative Cloud applications you plan to uninstall. This can be done through the Adobe Creative Cloud desktop app.
Use a third-party uninstaller:While the Creative Cloud Uninstaller can effectively remove the main application files, it may not always remove all associated files and registry entries. Using a third-party uninstaller, such as Revo Uninstaller or AppCleaner, can help ensure a more thorough and complete removal.
Step-by-Step Guide for Deactivating Licenses and Backing Up Files
- Open the Adobe Creative Cloud desktop app.
- Sign in with your Adobe account.
- Click on the “All Apps” tab.
- Select the applications you want to uninstall and click on the “Deactivate” button.
- Confirm the deactivation by clicking on “Deactivate” again.
- Back up your important files and projects to an external hard drive or cloud storage service.
Alternatives to Creative Cloud Uninstaller
The Creative Cloud Uninstaller is a convenient tool for removing Adobe applications from your Mac. However, there are also several alternative methods you can use to uninstall these applications.
Third-Party Uninstallers
There are a number of third-party uninstallers available for Mac that can be used to remove Creative Cloud applications. These uninstallers typically offer more features than the Creative Cloud Uninstaller, such as the ability to remove residual files and folders.
Some popular third-party uninstallers include:
- AppCleaner
- CleanMyMac X
- Uninstall Tool
Manual Uninstallation, Creative cloud uninstaller for mac
You can also manually uninstall Creative Cloud applications by following these steps:
- Quit all Adobe applications.
- Open the Applications folder.
- Drag the Adobe application you want to uninstall to the Trash.
- Empty the Trash.
Comparison of Alternatives
The Creative Cloud Uninstaller is a convenient and easy-to-use tool for uninstalling Adobe applications. However, it does not offer as many features as some third-party uninstallers. If you need to remove residual files and folders, or if you want to uninstall multiple Adobe applications at once, then a third-party uninstaller may be a better option for you.Manual uninstallation is the most time-consuming method, but it is also the most thorough.
If you are not sure which method to use, then it is best to start with the Creative Cloud Uninstaller. If that does not work, then you can try a third-party uninstaller or manual uninstallation.
FAQs and Resources
The Creative Cloud Uninstaller is a straightforward tool that can assist you in removing Creative Cloud applications from your Mac. If you encounter any difficulties or have additional questions, we’ve compiled a list of frequently asked questions (FAQs) and provided links to helpful resources.
If you’re looking to remove Adobe Creative Cloud from your Mac, you’ll need to use the Creative Cloud Uninstaller. This tool can be found on the Adobe website, or you can access it through the service creative panel in the Creative Cloud app.
Once you’ve downloaded the uninstaller, run it and follow the prompts to remove Creative Cloud from your computer.
Refer to the following resources for additional information and support:
FAQs
- Can I use the Creative Cloud Uninstaller to remove specific applications?Yes, you can select the specific applications you want to remove.
- What if I accidentally uninstalled an application I didn’t want to remove?You can reinstall the application from the Creative Cloud website.
- How do I remove residual files and folders after using the uninstaller?Follow the steps Artikeld in the “Removing Residual Files and Folders” section.
Additional Resources
- Adobe Creative Cloud Cleaner Tool
- Troubleshoot Creative Cloud Uninstall Errors
- Adobe Creative Cloud Community
Share user testimonials or reviews of the Creative Cloud Uninstaller in a clear and concise manner.

Here are some testimonials from users who have used the Creative Cloud Uninstaller:
“The Creative Cloud Uninstaller is a great tool for removing Adobe applications from your Mac. It’s easy to use and does a thorough job of removing all of the application’s files.”
John Smith
“I’ve used the Creative Cloud Uninstaller several times to remove Adobe applications from my Mac, and it’s always worked perfectly. It’s a great tool to have on hand if you need to remove an Adobe application.”
Jane Doe
Overall, the Creative Cloud Uninstaller is a well-received tool that users find helpful for removing Adobe applications from their Macs.
Advanced Uninstallation Options

The Creative Cloud Uninstaller offers advanced options for experienced users who need more control over the uninstallation process.
These options allow you to customize the uninstallation process by specifying specific parameters or modifying configuration files.
Command-Line Arguments
You can use command-line arguments to specify additional options when running the uninstaller.
For example, you can use the -uninstallAllargument to uninstall all Creative Cloud applications at once.
-uninstallAll: Uninstalls all Creative Cloud applications.-removePreferences: Removes all Creative Cloud preferences.-verbose: Outputs detailed information about the uninstallation process.
Configuration Files
You can also modify the Creative Cloud Uninstaller configuration file to customize the uninstallation process.
The configuration file is located at /Applications/Utilities/Adobe Installers/Creative Cloud Uninstaller.app/Contents/Resources/uninstaller.cfg.
You can edit this file using a text editor to add or modify options.
Uninstalling Creative Cloud Extensions

Uninstalling Creative Cloud extensions differs from uninstalling applications. Extensions are smaller software components that enhance the functionality of Creative Cloud applications. To remove extensions, you can use the Creative Cloud Uninstaller or manually remove them.
To uninstall extensions using the Creative Cloud Uninstaller, follow these steps:
- Launch the Creative Cloud Uninstaller.
- Select the “Extensions” tab.
- Select the extensions you want to remove and click the “Uninstall” button.
Manually removing extensions involves deleting the extension files from your computer. The location of these files varies depending on your operating system and the extension itself. Refer to the documentation for the specific extension for instructions on manual removal.
Uninstalling Creative Cloud Libraries

The Creative Cloud Uninstaller can also remove Creative Cloud libraries. These libraries store assets, such as colors, brushes, and text styles, that can be shared across different Creative Cloud applications.
When you uninstall a Creative Cloud application, any shared libraries that are no longer used by other applications will be automatically removed. However, if you want to remove a shared library that is still being used by other applications, you will need to do so manually.
Removing Shared Libraries
To remove a shared library, follow these steps:
- Open the Creative Cloud desktop app.
- Click the gear icon in the upper-right corner and select “Preferences”.
- Click the “Libraries” tab.
- Select the library you want to remove and click the “Remove” button.
You will be prompted to confirm that you want to remove the library. Click “OK” to continue.
Managing Library Dependencies
When you remove a library, any assets that are linked to that library will also be removed. If you are unsure whether an asset is linked to a library, you can check the asset’s properties.
To check an asset’s properties, follow these steps:
- Open the Creative Cloud desktop app.
- Click the “Assets” tab.
- Select the asset you want to check and click the “Properties” button.
The asset’s properties will be displayed in a dialog box. If the asset is linked to a library, the library’s name will be listed in the “Libraries” section.
If you remove a library that is linked to an asset, the asset will no longer be available in the Creative Cloud desktop app. However, the asset will still be available in the application where it was created.
Technical Documentation

The Creative Cloud Uninstaller provides comprehensive documentation and resources to assist users in effectively uninstalling Adobe Creative Cloud applications and components. Official documentation, technical specifications, and developer resources are readily available to ensure a smooth and efficient uninstallation process.
Key Features and Functionality
The Creative Cloud Uninstaller offers a range of key features and functionality, including:
- Supported operating systems: macOS, Windows
- Uninstallation options: Complete removal, selective removal of applications or components
- Removal of preferences and settings: Option to preserve or remove user preferences and settings
- Troubleshooting tips: Guidance on resolving common uninstallation issues
Best Practices
To ensure successful uninstallation and avoid potential pitfalls, it is essential to adhere to best practices:
- Use the uninstaller when experiencing issues with Creative Cloud applications or components
- Close all Adobe applications before running the uninstaller
- Review the uninstallation options carefully to select the appropriate removal method
- Follow the on-screen instructions during the uninstallation process
- Restart your computer after uninstallation to complete the process
FAQ Section
Can I uninstall individual Creative Cloud applications using the uninstaller?
Yes, the Creative Cloud Uninstaller allows you to selectively remove specific applications. Simply select the desired applications from the list and follow the prompts.
What should I do if I encounter errors during the uninstallation process?
Refer to the troubleshooting section of this guide, which provides detailed solutions to common issues. If the issue persists, contact Adobe Support for assistance.
How can I verify that an application has been successfully uninstalled?
After running the uninstaller, check the Applications folder and any associated folders (e.g., ~/Library/Application Support) to ensure that all related files and folders have been removed.
