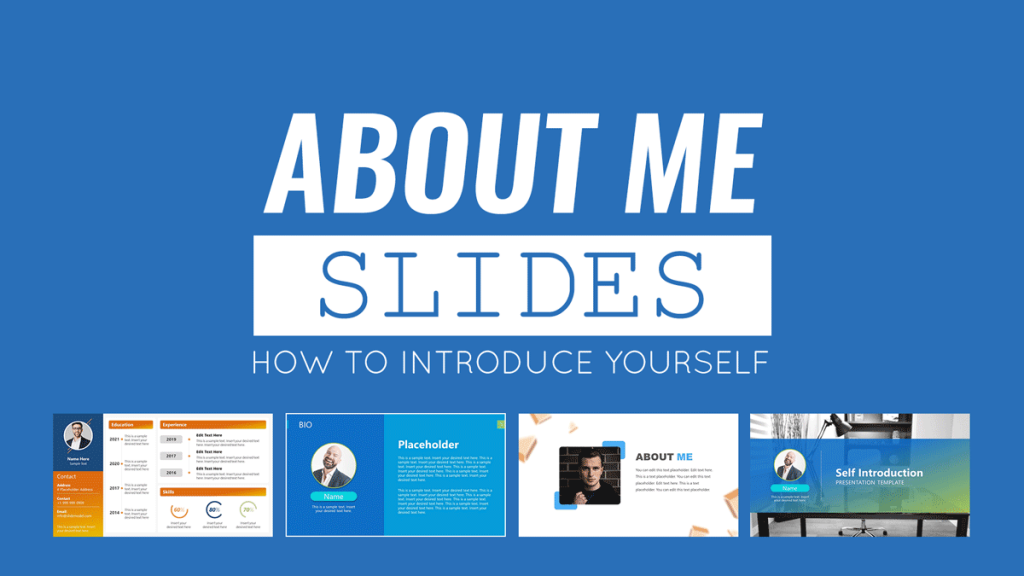
Creative about me slides – Craft About Me slides that radiate creativity and ignite engagement. Discover the secrets of designing visually stunning slides that captivate your audience and leave a lasting impression.
In this comprehensive guide, we’ll explore the art of crafting About Me slides that stand out. From choosing the right design elements to incorporating storytelling techniques, we’ll equip you with the knowledge and inspiration to create presentations that showcase your unique style and expertise.
Define Creative About Me Slides
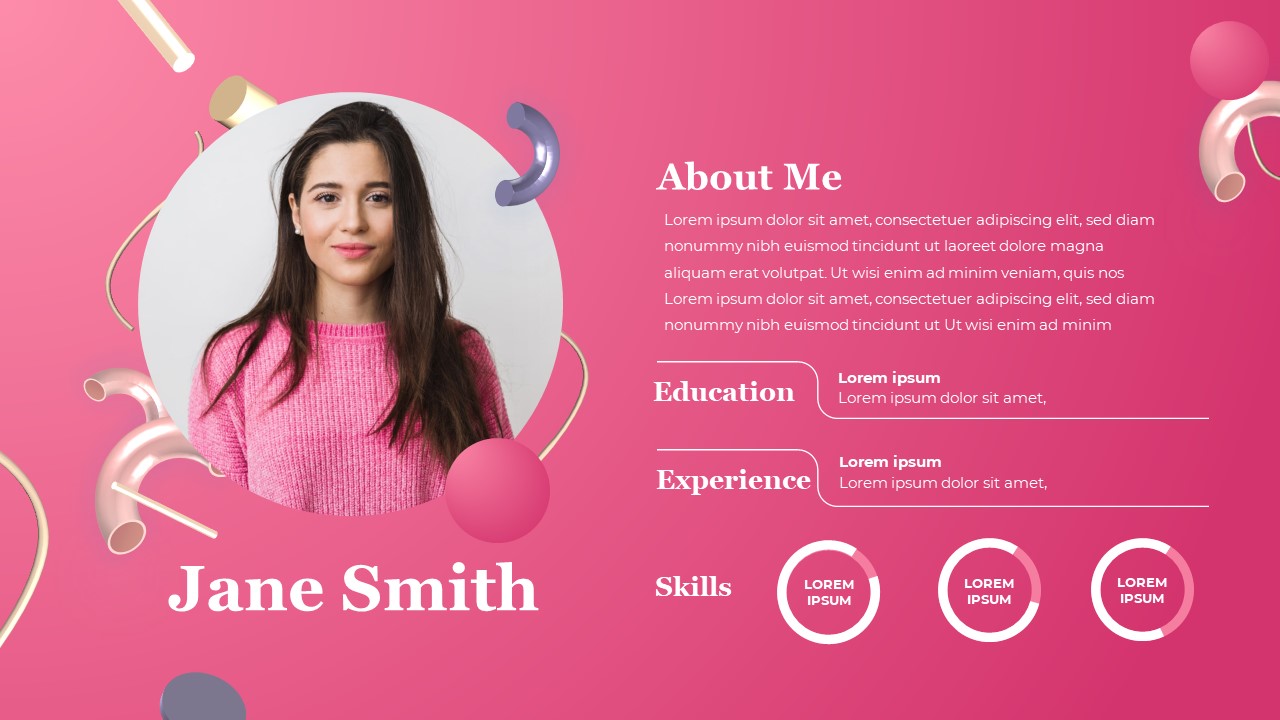
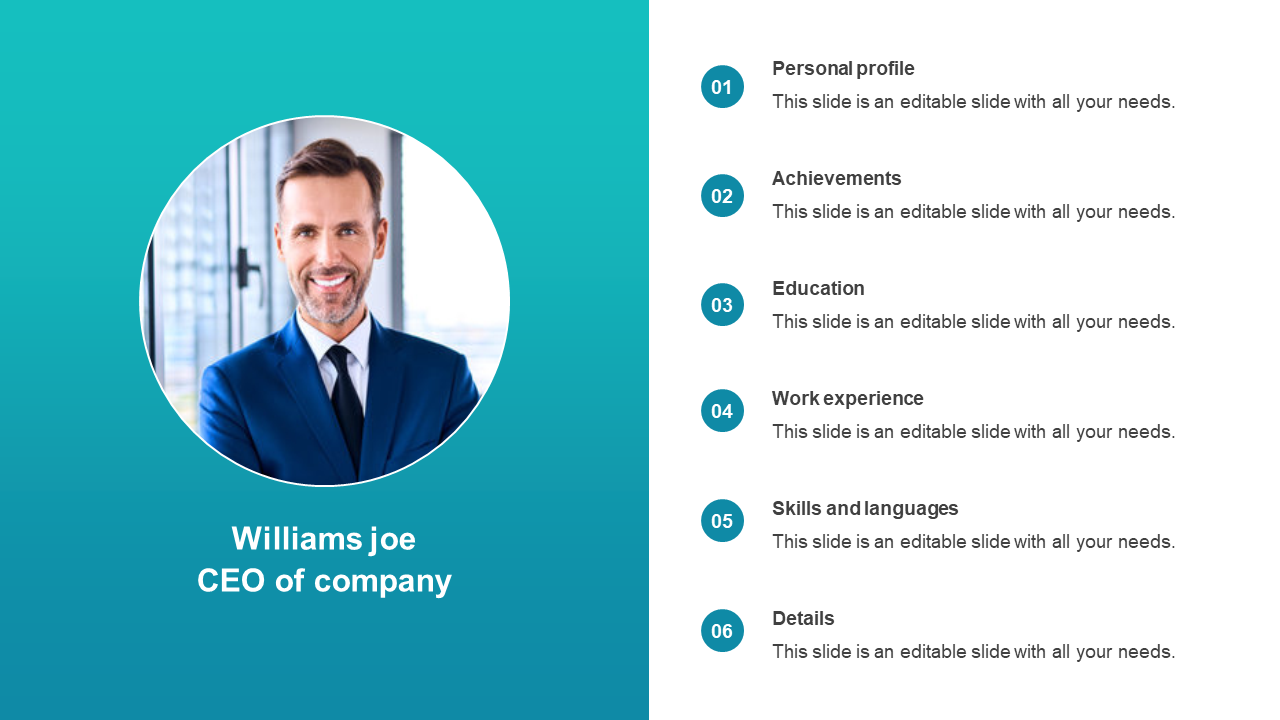
Creative About Me slides are a visual representation of your personality, skills, and experience. They are a way to stand out from the crowd and make a lasting impression on potential employers, clients, or collaborators.
What makes a slide creative and engaging? It is all about using visuals, fonts, and colors to create a visually appealing and informative presentation. Creative slides should be visually appealing, easy to read, and memorable. They should also be tailored to your audience and the purpose of your presentation.
Purpose and Benefits of Using Creative Slides
- To make a lasting impression on your audience
- To stand out from the crowd
- To communicate your message in a visually appealing way
- To make your presentation more memorable
- To engage your audience and keep them interested
Examples of Creative and Engaging Slides
There are many different ways to create creative and engaging slides. Here are a few examples:
- Use high-quality images and graphics
- Use creative fonts and colors
- Use animations and transitions
- Use interactive elements
- Tell a story
Tips on How to Create Creative and Engaging Slides
Here are a few tips on how to create creative and engaging slides:
- Start with a strong hook
- Use visuals to support your message
- Keep your slides simple and easy to read
- Use a consistent design throughout your presentation
- Practice your presentation in advance
Types of Creative About Me Slides

When creating your About Me slides, you can choose from various creative formats to make your presentation stand out. Each type offers unique advantages, and selecting the right one depends on your presentation’s purpose and audience.
Here are some popular types of creative About Me slides to consider:
Interactive Slides
- Incorporate interactive elements like polls, quizzes, or Q&A sessions to engage your audience and make your presentation more dynamic.
- Interactive slides are a great way to break the ice, gather feedback, and encourage participation.
Visual Slides
- Use visually appealing elements like images, videos, infographics, and animations to create a visually stimulating presentation.
- Visual slides are ideal for showcasing your work, highlighting key achievements, or telling a compelling story.
Storytelling Slides
- Craft a narrative around your experiences, passions, and values to create a more personal and engaging presentation.
- Storytelling slides allow you to connect with your audience on an emotional level and leave a lasting impression.
Design Elements for Creative Slides

Visual appeal is crucial for capturing attention and conveying information effectively. Design elements like visual hierarchy, layout, color, typography, and images play a vital role in creating visually appealing and engaging slides.
Visual hierarchy organizes elements to guide the audience’s eye flow, emphasizing the most important information. Layout refers to the arrangement of elements on the slide, ensuring clarity and balance. Color, typography, and images add visual interest, reinforce branding, and enhance comprehension.
Color
- Choose a color scheme that aligns with your brand identity and the tone of your presentation.
- Use contrasting colors to create visual interest and emphasize key points.
- Consider color psychology and cultural associations to evoke specific emotions or convey messages.
Typography
- Select fonts that are legible, visually appealing, and consistent with your brand.
- Use a combination of font sizes and styles to create visual hierarchy and guide the audience’s eye.
- Consider the readability of your text, ensuring it’s easy to read from a distance.
Images
- Use high-quality images that are relevant to your content and visually appealing.
- Crop and resize images appropriately to fit the slide layout and maintain clarity.
- Consider using images with transparent backgrounds to overlay text or create a layered effect.
Content and Storytelling for Creative Slides
Crafting compelling content for your creative slides is crucial for engaging your audience and leaving a lasting impression. Storytelling and personal anecdotes can add a human touch, making your presentation more relatable and memorable.
Avoid common content pitfalls such as using excessive jargon, technical terms, or overly complex language. Instead, focus on clarity, simplicity, and delivering your message in a way that resonates with your audience.
Storytelling and Personal Anecdotes
Storytelling is a powerful tool that can connect you with your audience on an emotional level. Share personal anecdotes or examples that illustrate your points and make them more relatable. Use vivid imagery, sensory details, and humor to bring your stories to life.
Personal anecdotes can help you establish credibility, build rapport, and make your presentation more authentic. They allow your audience to connect with you as a human being, not just a presenter.
Tools for Creating Creative Slides

Crafting compelling and visually stunning slides requires the right tools. Here’s a curated list of software and online platforms to elevate your creativity:
Software Tools
- Microsoft PowerPoint:The industry standard, offering a wide range of templates, animations, and transitions. Its familiarity makes it accessible to most users.
- Apple Keynote:Known for its sleek interface and intuitive design tools, Keynote is a popular choice for Mac users. It features stunning animations and a user-friendly experience.
- Google Slides:A cloud-based platform that allows for seamless collaboration and sharing. Its simplicity and integration with other Google apps make it a great option for teams.
Online Tools
- Canva:A user-friendly online tool with a vast library of templates, images, and design elements. Canva simplifies slide creation for non-designers.
- Visme:A comprehensive platform that offers a wide range of interactive elements, charts, and data visualization tools. Visme empowers users to create engaging and data-driven presentations.
- Slidebean:An AI-powered tool that automates slide design based on your content. Slidebean saves time and ensures consistency in your presentations.
Choosing the Right Tool
The best tool for you depends on your specific needs and preferences. Consider the following factors:
- Complexity:Some tools offer more advanced features than others. Choose a tool that aligns with the level of complexity you require.
- Collaboration:If you need to collaborate with others, opt for a cloud-based platform like Google Slides or Visme.
- Budget:Most tools offer free or basic plans, while others charge a subscription fee for additional features.
Design Principles for Creative Slides
Effective slide design relies on the principles of design, which guide how visual elements are arranged and presented to create a cohesive and impactful experience. By understanding and applying these principles, you can elevate the visual appeal and clarity of your creative about me slides.
Contrast
Contrast refers to the visual difference between elements on a slide. By creating contrast, you can draw attention to specific elements, guide the viewer’s eye, and make your slides more visually engaging. Use contrasting colors, font sizes, and weights to highlight key points and differentiate between sections.
Repetition
Repetition involves using consistent design elements throughout your slides to create a sense of unity and cohesion. This can include repeating colors, fonts, images, or graphic elements. Repetition helps viewers connect the slides and reinforces the overall message.
Alignment
Alignment refers to the arrangement of elements on a slide. By aligning elements consistently, you can create a visually organized and professional appearance. Use alignment to group related elements, create visual balance, and guide the viewer’s eye through the slide.
– Showcase examples of creative and effective About Me slides

Effective About Me slides captivate the audience, leaving a lasting impression. These slides are not mere introductions; they are an opportunity to tell your story, highlight your skills, and showcase your creativity. To achieve this, consider the following:
Use high-quality images, videos, and graphics
Visuals play a crucial role in creating visually appealing slides. Use high-resolution images that are relevant to your topic. Incorporate videos and graphics to break up the text and add interest.
Write concise and engaging text
The text on your slides should be clear, concise, and engaging. Use strong verbs and active voice. Avoid jargon and technical terms that your audience may not understand.
Use creative layouts and typography, Creative about me slides
Experiment with different layouts and typography to make your slides stand out. Use contrasting colors, bold fonts, and creative spacing to create a visually appealing design.
Accessibility and Inclusivity in Creative Slides: Creative About Me Slides

Accessibility and inclusivity are essential considerations in slide design, ensuring that your presentations are accessible to all audiences, regardless of their abilities or disabilities. By incorporating accessibility features, you can create slides that are easy to understand, navigate, and engage with for everyone.
Tips for Making Slides Accessible
- Use high-contrast color combinations to ensure readability for people with low vision.
- Choose fonts that are easy to read, such as sans-serif fonts with clear letterforms.
- Use large font sizes to make text easier to read.
- Avoid using text-heavy slides; instead, use concise text and visual aids.
- Provide alternative text (alt text) for images and videos to make them accessible to screen readers.
- Use closed captions and transcripts for videos to make them accessible to people who are deaf or hard of hearing.
- Provide alternative formats for slides, such as PDFs and transcripts, for people who prefer to read the content in a different format.
Using Accessibility Checkers
- Use accessibility checkers to identify and fix accessibility issues in your slides.
- Accessibility checkers are available for various software programs, including Microsoft PowerPoint and Google Slides.
Examples of Accessible Slide Designs
- Use color schemes that meet the Web Content Accessibility Guidelines (WCAG) standards for contrast ratio.
- Use large, clear fonts that are easy to read from a distance.
- Provide alt text for all images and videos, describing the content in detail.
- Include closed captions and transcripts for all videos.
- Offer alternative formats for slides, such as PDFs and transcripts, for people who prefer to read the content in a different format.
Animation and Transitions for Creative Slides
Animations and transitions add visual interest and can enhance the impact of your About Me slides. However, it’s important to use them effectively to avoid distracting your audience.
Use Animation Sparingly
Animations should be used sparingly to highlight key points or create a specific effect. Avoid using animations that are too distracting or repetitive.
Transitions
Transitions help guide your audience through your slides and create a smooth flow. Choose transitions that complement your content and avoid using transitions that are too jarring or slow.
Examples
* Slide 1:A simple fade-in transition from black to reveal your name and title.
Slide 2
An animated graph that gradually fills in to illustrate your career growth.
Slide 3
A subtle zoom effect on your headshot to draw attention to your personal qualities.
Best Practices for Creative About Me Slides
Creating effective and engaging About Me slides requires careful planning and execution. Follow these best practices to ensure your slides stand out and leave a lasting impression:
Keep it concise and to the point:Your slides should be visually appealing and easy to read. Avoid overloading them with text or unnecessary details. Instead, focus on highlighting your key skills, experiences, and achievements.
Crafting creative about me slides can be daunting, but it doesn’t have to be. For inspiration, check out foul mouth creative , a website known for its edgy and humorous approach to design. They showcase unconventional and thought-provoking ideas that can spark creativity in your own slides.
By exploring their work, you’ll gain insights into how to break free from the ordinary and create about me slides that truly stand out.
Mistakes to Avoid
- Using too much text:Break up your text into smaller chunks and use bullet points or images to make your slides more visually appealing.
- Using boring or generic visuals:Choose images and videos that are relevant to your topic and that will engage your audience.
- Not rehearsing your presentation:Practice your presentation so that you can deliver it confidently and smoothly.
- Not getting feedback from others:Ask friends, colleagues, or family members to review your slides and give you feedback.
Create a Responsive HTML Table for Slide Content
Creating a responsive HTML table for slide content allows for easy organization and display of data in a way that adapts to different screen sizes.
HTML Table Structure
Use the following HTML table structure:“`html
| Header 1 | Header 2 | Header 3 | Header 4 |
|---|---|---|---|
| Data 1 | Data 2 | Data 3 | Data 4 |
| Data 5 | Data 6 | Data 7 | Data 8 |
| Footer 1 | Footer 2 | Footer 3 | Footer 4 |
“`
CSS for Responsiveness
Make the table responsive with CSS:“`csstable width: 100%;thead, tbody, tfoot display: flex; flex-direction: column;th, td flex: 1;“`
Table Content Organization
Organize content using `
` for headers, `` for data, and `` for footers. Use alternating colors for odd and even rows with this CSS:“`csstr:nth-child(even) background-color: #f2f2f2;“`– Explain how to use blockquotes to highlight and emphasize text
Blockquotes are a great way to highlight and emphasize text in your slides. They can be used to quote someone, to call attention to an important point, or to simply add visual interest to your slides.
To create a blockquote, simply select the text you want to highlight and click the “Blockquote” button in the toolbar. You can also use the keyboard shortcut Ctrl+Q (Windows) or Command+Q (Mac) to create a blockquote.
Styling and formatting blockquotes
There are a few different ways to style and format blockquotes. You can change the font, size, and color of the text, and you can also add a background color or image to the blockquote.
To change the style of a blockquote, simply select the blockquote and click the “Format” button in the toolbar. You can then choose from a variety of different styles.
Incorporating blockquotes into slide designs
There are a number of different ways to incorporate blockquotes into your slide designs. You can use them to:
- Quote someone
- Call attention to an important point
- Add visual interest to your slides
When using blockquotes, it’s important to keep in mind the overall design of your slides. Blockquotes should be used sparingly, and they should be placed in a way that doesn’t distract from the main content of your slides.
Using blockquotes to create visual interest and engagement
Blockquotes can be a great way to create visual interest and engagement in your slides. By using different styles and formats, you can create blockquotes that stand out from the rest of the text on your slides.
You can also use blockquotes to create interactive slides. For example, you can create a blockquote that contains a question and then ask your audience to answer the question in the chat.
Table: Key points of using blockquotes in slides
| Feature | Description |
|---|---|
| Highlight text | Use blockquotes to draw attention to important text or quotes. |
| Emphasize points | Blockquotes can emphasize key points or arguments in your presentation. |
| Add visual interest | Blockquotes can break up the monotony of text-heavy slides and make them more visually appealing. |
| Create engagement | Interactive blockquotes can encourage audience participation and discussion. |
Resources for further learning
- How to Use Blockquotes in Slides
- Blockquotes and Quotes in Presentations
- Using Block Quotes in Articulate Storyline 360
Create a Visually Appealing Slide with an Image
Incorporating high-quality images into your slides can significantly enhance their visual appeal and engagement. Here’s how to choose, edit, and position images effectively for maximum impact.
Choosing and Editing Images
- Select high-resolution images:Choose images with at least 1280×720 pixels to ensure clarity on larger screens.
- Consider image relevance:Choose images that are directly relevant to your content and support your message.
- Edit for impact:Use editing software to adjust brightness, contrast, and saturation for optimal visual impact.
- Consider cropping:Crop images to remove unnecessary elements and focus on the most important aspects.
Positioning and Resizing Images
- Position strategically:Place images where they complement the text and enhance the overall flow of the slide.
- Resize appropriately:Adjust image size to fit the slide without distorting the proportions.
- Use alignment:Align images with the text or other elements on the slide for a cohesive look.
- Consider white space:Leave sufficient white space around images to avoid clutter and improve readability.
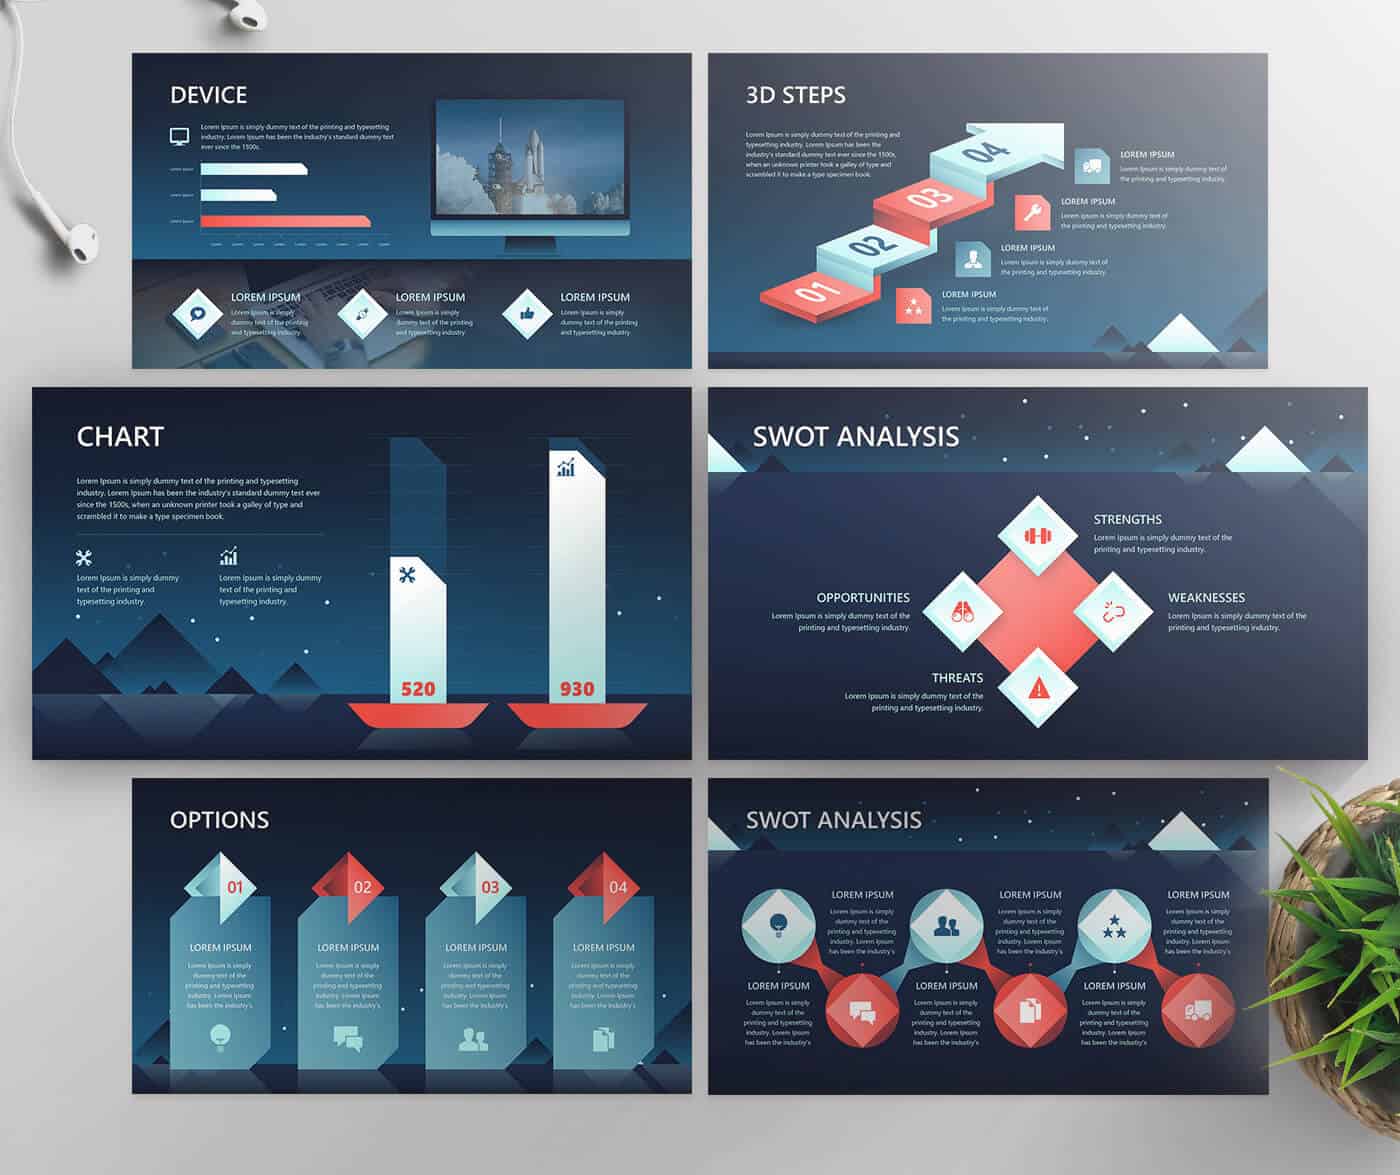
Design a Slide with a Dynamic Chart or Graph

Dynamic charts and graphs are powerful tools for visualizing data and communicating insights in a visually appealing and impactful way. They allow you to present complex data in a clear and concise manner, making it easier for your audience to understand and retain the information.
Creating and Inserting Charts and Graphs
Inserting charts and graphs into your slides is a straightforward process. Most presentation software, such as Microsoft PowerPoint and Google Slides, offer a variety of built-in chart and graph templates that you can customize to fit your data. Simply select the type of chart or graph you want to use, enter your data, and customize the appearance to match your brand or presentation style.
Types of Charts and Graphs
There are many different types of charts and graphs, each with its own strengths and weaknesses. Some of the most common types include:
- Bar charts:Bar charts are used to compare values across different categories. They are ideal for showing data that is distributed over a range of values, such as sales figures or customer demographics.
- Line charts:Line charts are used to show trends over time. They are ideal for visualizing data that changes over time, such as stock prices or website traffic.
- Pie charts:Pie charts are used to show the relative proportions of different parts of a whole. They are ideal for visualizing data that is divided into categories, such as market share or customer demographics.
Customizing and Styling Charts and Graphs
Once you have created a chart or graph, you can customize its appearance to match your brand or presentation style. You can change the colors, fonts, and layout of the chart or graph to make it more visually appealing and easier to read.
You can also add labels, legends, and titles to provide additional context and information.
Data Binding
Data binding is a powerful feature that allows you to connect your charts and graphs to data sources. This means that your charts and graphs will automatically update when the underlying data changes. This is a great way to ensure that your charts and graphs are always up-to-date and accurate.
Benefits of Dynamic Charts and Graphs
Dynamic charts and graphs offer a number of benefits over static charts and graphs, including:
- Real-time updates:Dynamic charts and graphs can be updated in real time, so you can always be sure that you are presenting the most up-to-date information.
- Interactivity:Dynamic charts and graphs can be interactive, allowing your audience to explore the data in more detail. For example, they can hover over data points to see more information or zoom in on specific areas of the chart.
- Improved communication:Dynamic charts and graphs can help you to communicate data and insights more effectively. They are a great way to visualize complex data and make it easier for your audience to understand.
Examples of Dynamic Charts and Graphs
Here are a few examples of how you can use dynamic charts and graphs to effectively communicate data and insights:
- Sales dashboard:You can create a sales dashboard that includes dynamic charts and graphs to track key sales metrics, such as revenue, sales by product, and sales by region. This dashboard can be updated in real time to provide you with the most up-to-date information on your sales performance.
- Financial report:You can create a financial report that includes dynamic charts and graphs to visualize key financial data, such as revenue, expenses, and profit. This report can be used to track your financial performance over time and identify trends.
- Marketing campaign analysis:You can create a marketing campaign analysis that includes dynamic charts and graphs to track the performance of your marketing campaigns. This analysis can help you to identify which campaigns are most effective and make adjustments to improve your results.
Question & Answer Hub
What are the key elements of a creative About Me slide?
Visual appeal, engaging content, and a clear narrative that highlights your unique qualities.
How can I choose the right design elements for my About Me slides?
Consider visual hierarchy, color palettes, typography, and images that align with your personal brand.
What are some tips for crafting compelling content for About Me slides?
Use storytelling techniques, share personal anecdotes, and avoid common content pitfalls like excessive text or generic visuals.
How can I make my About Me slides accessible and inclusive?
Use high color contrast, clear font sizes, alt text for images, and provide alternative formats for individuals with disabilities.
What are the benefits of using animation and transitions in About Me slides?
When used effectively, they can enhance visual appeal, emphasize key points, and guide the audience’s attention.
